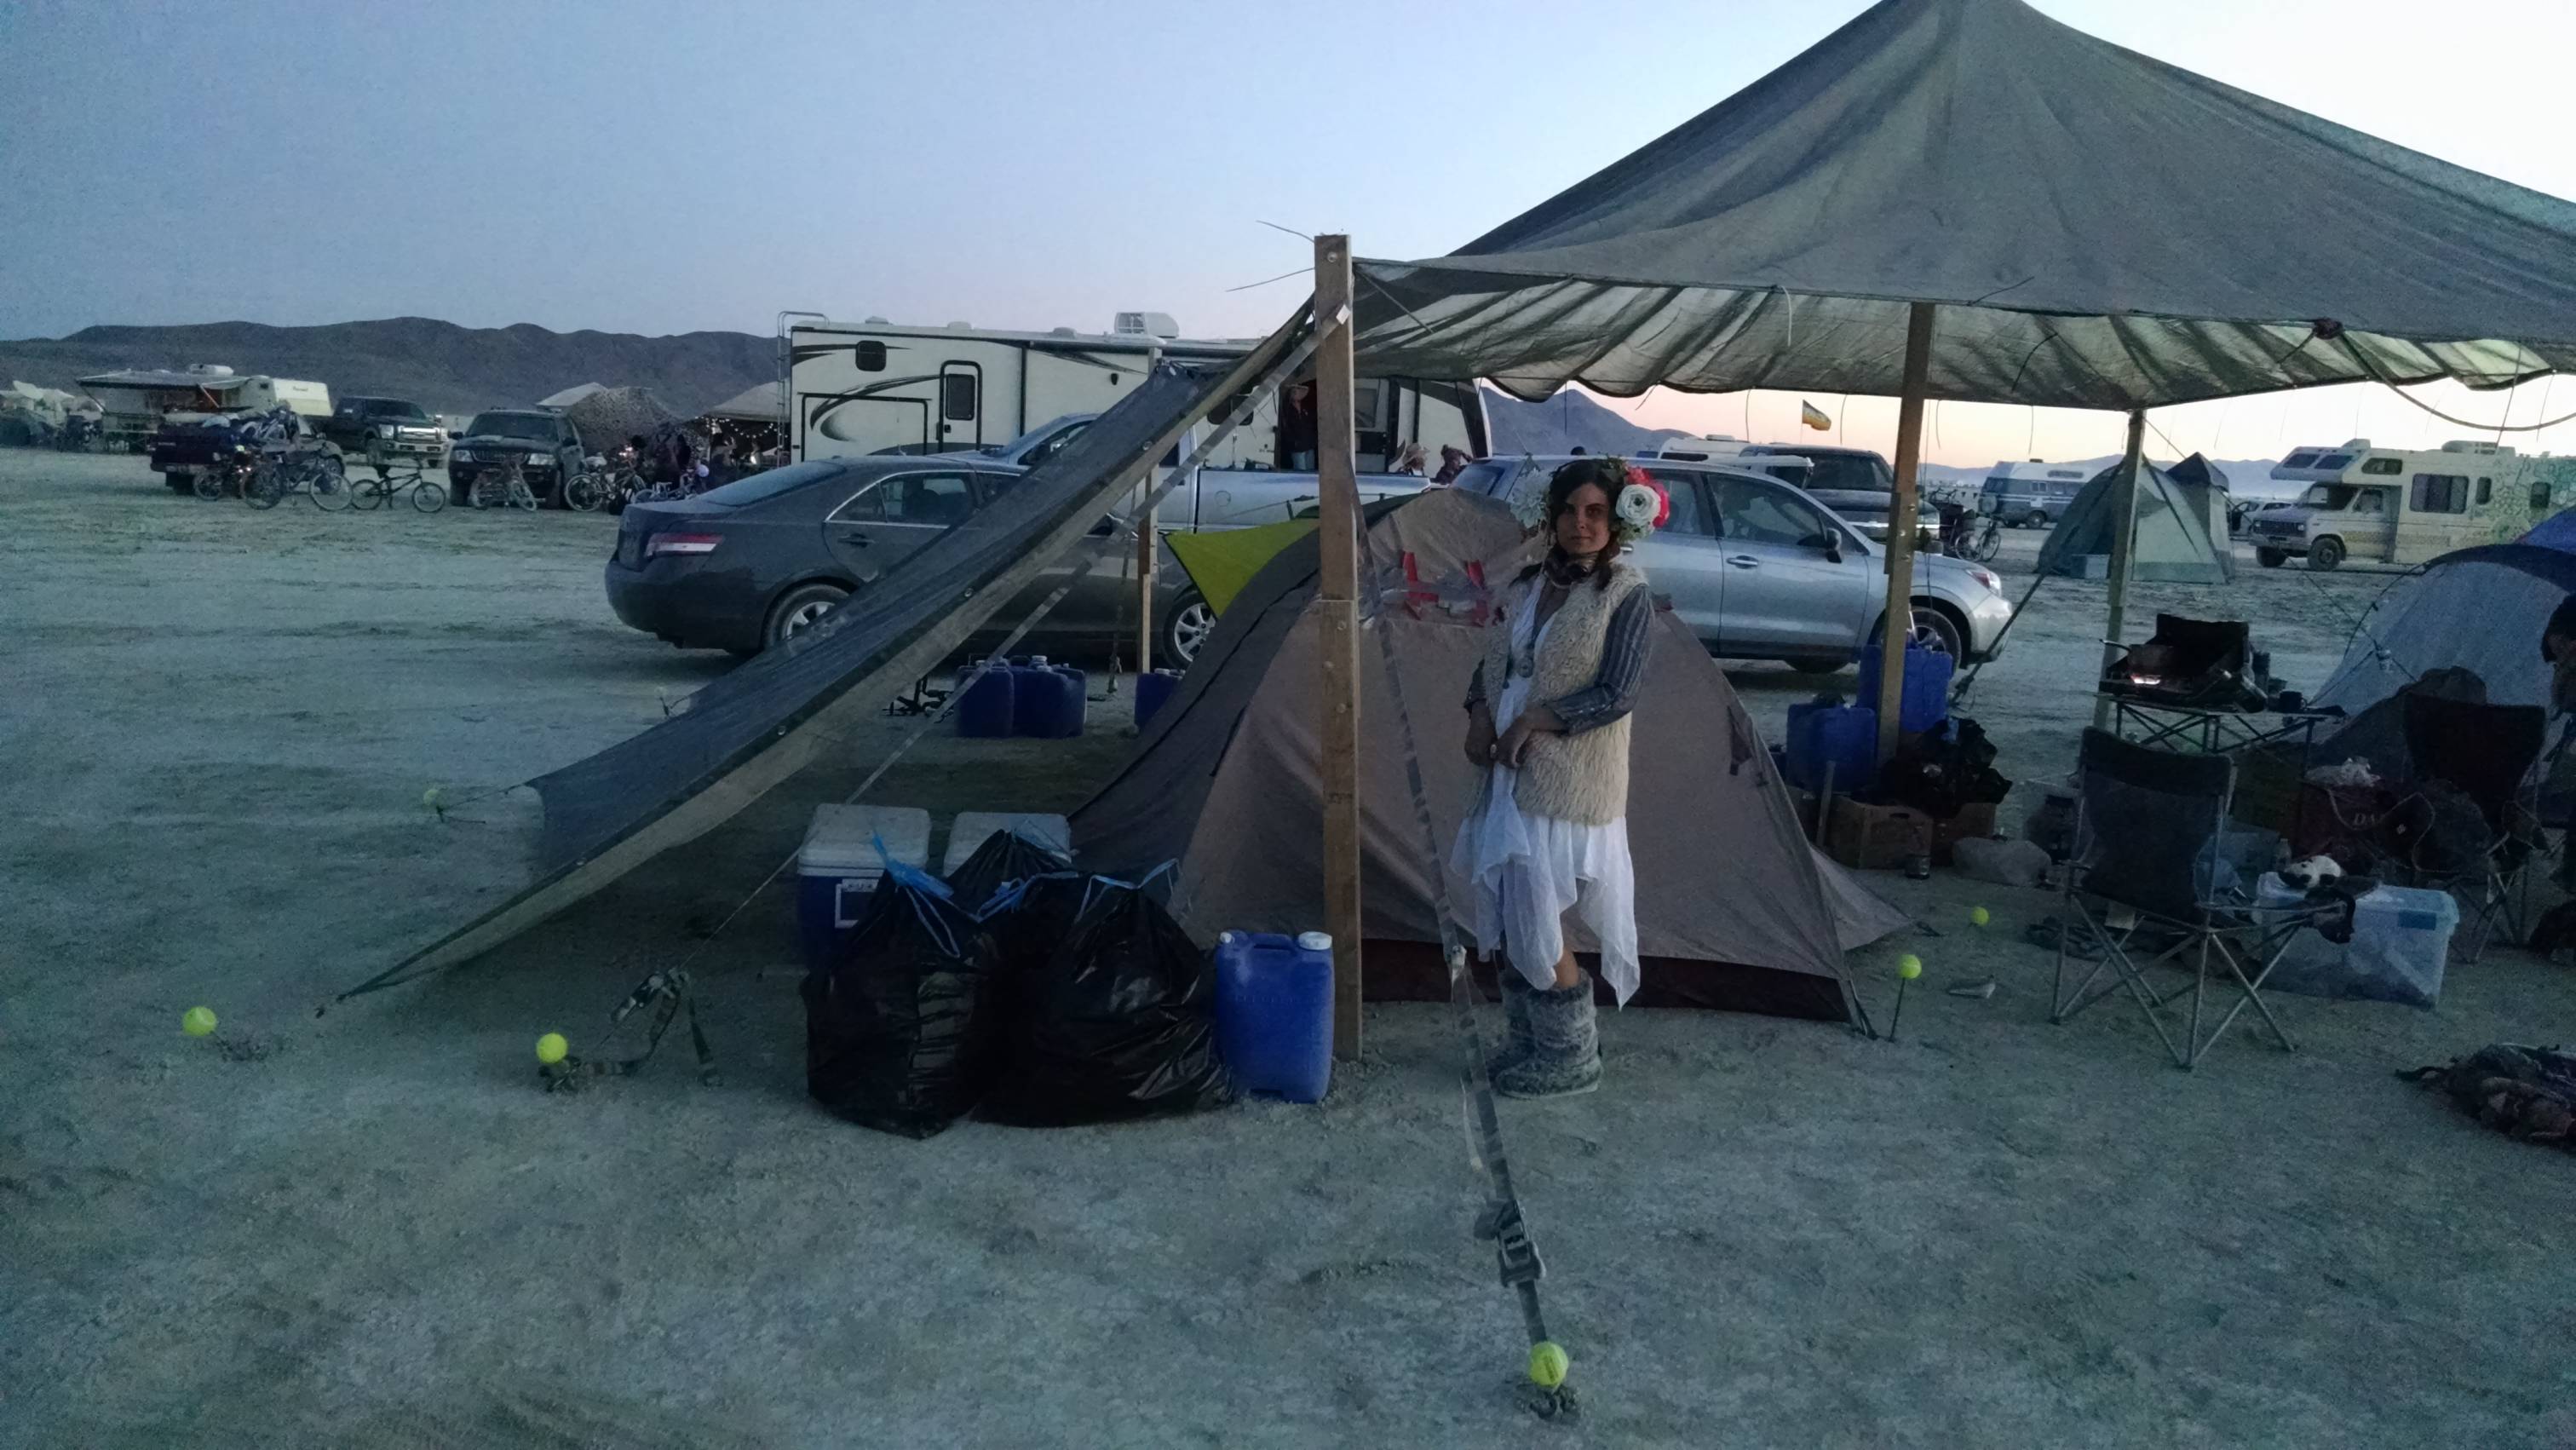
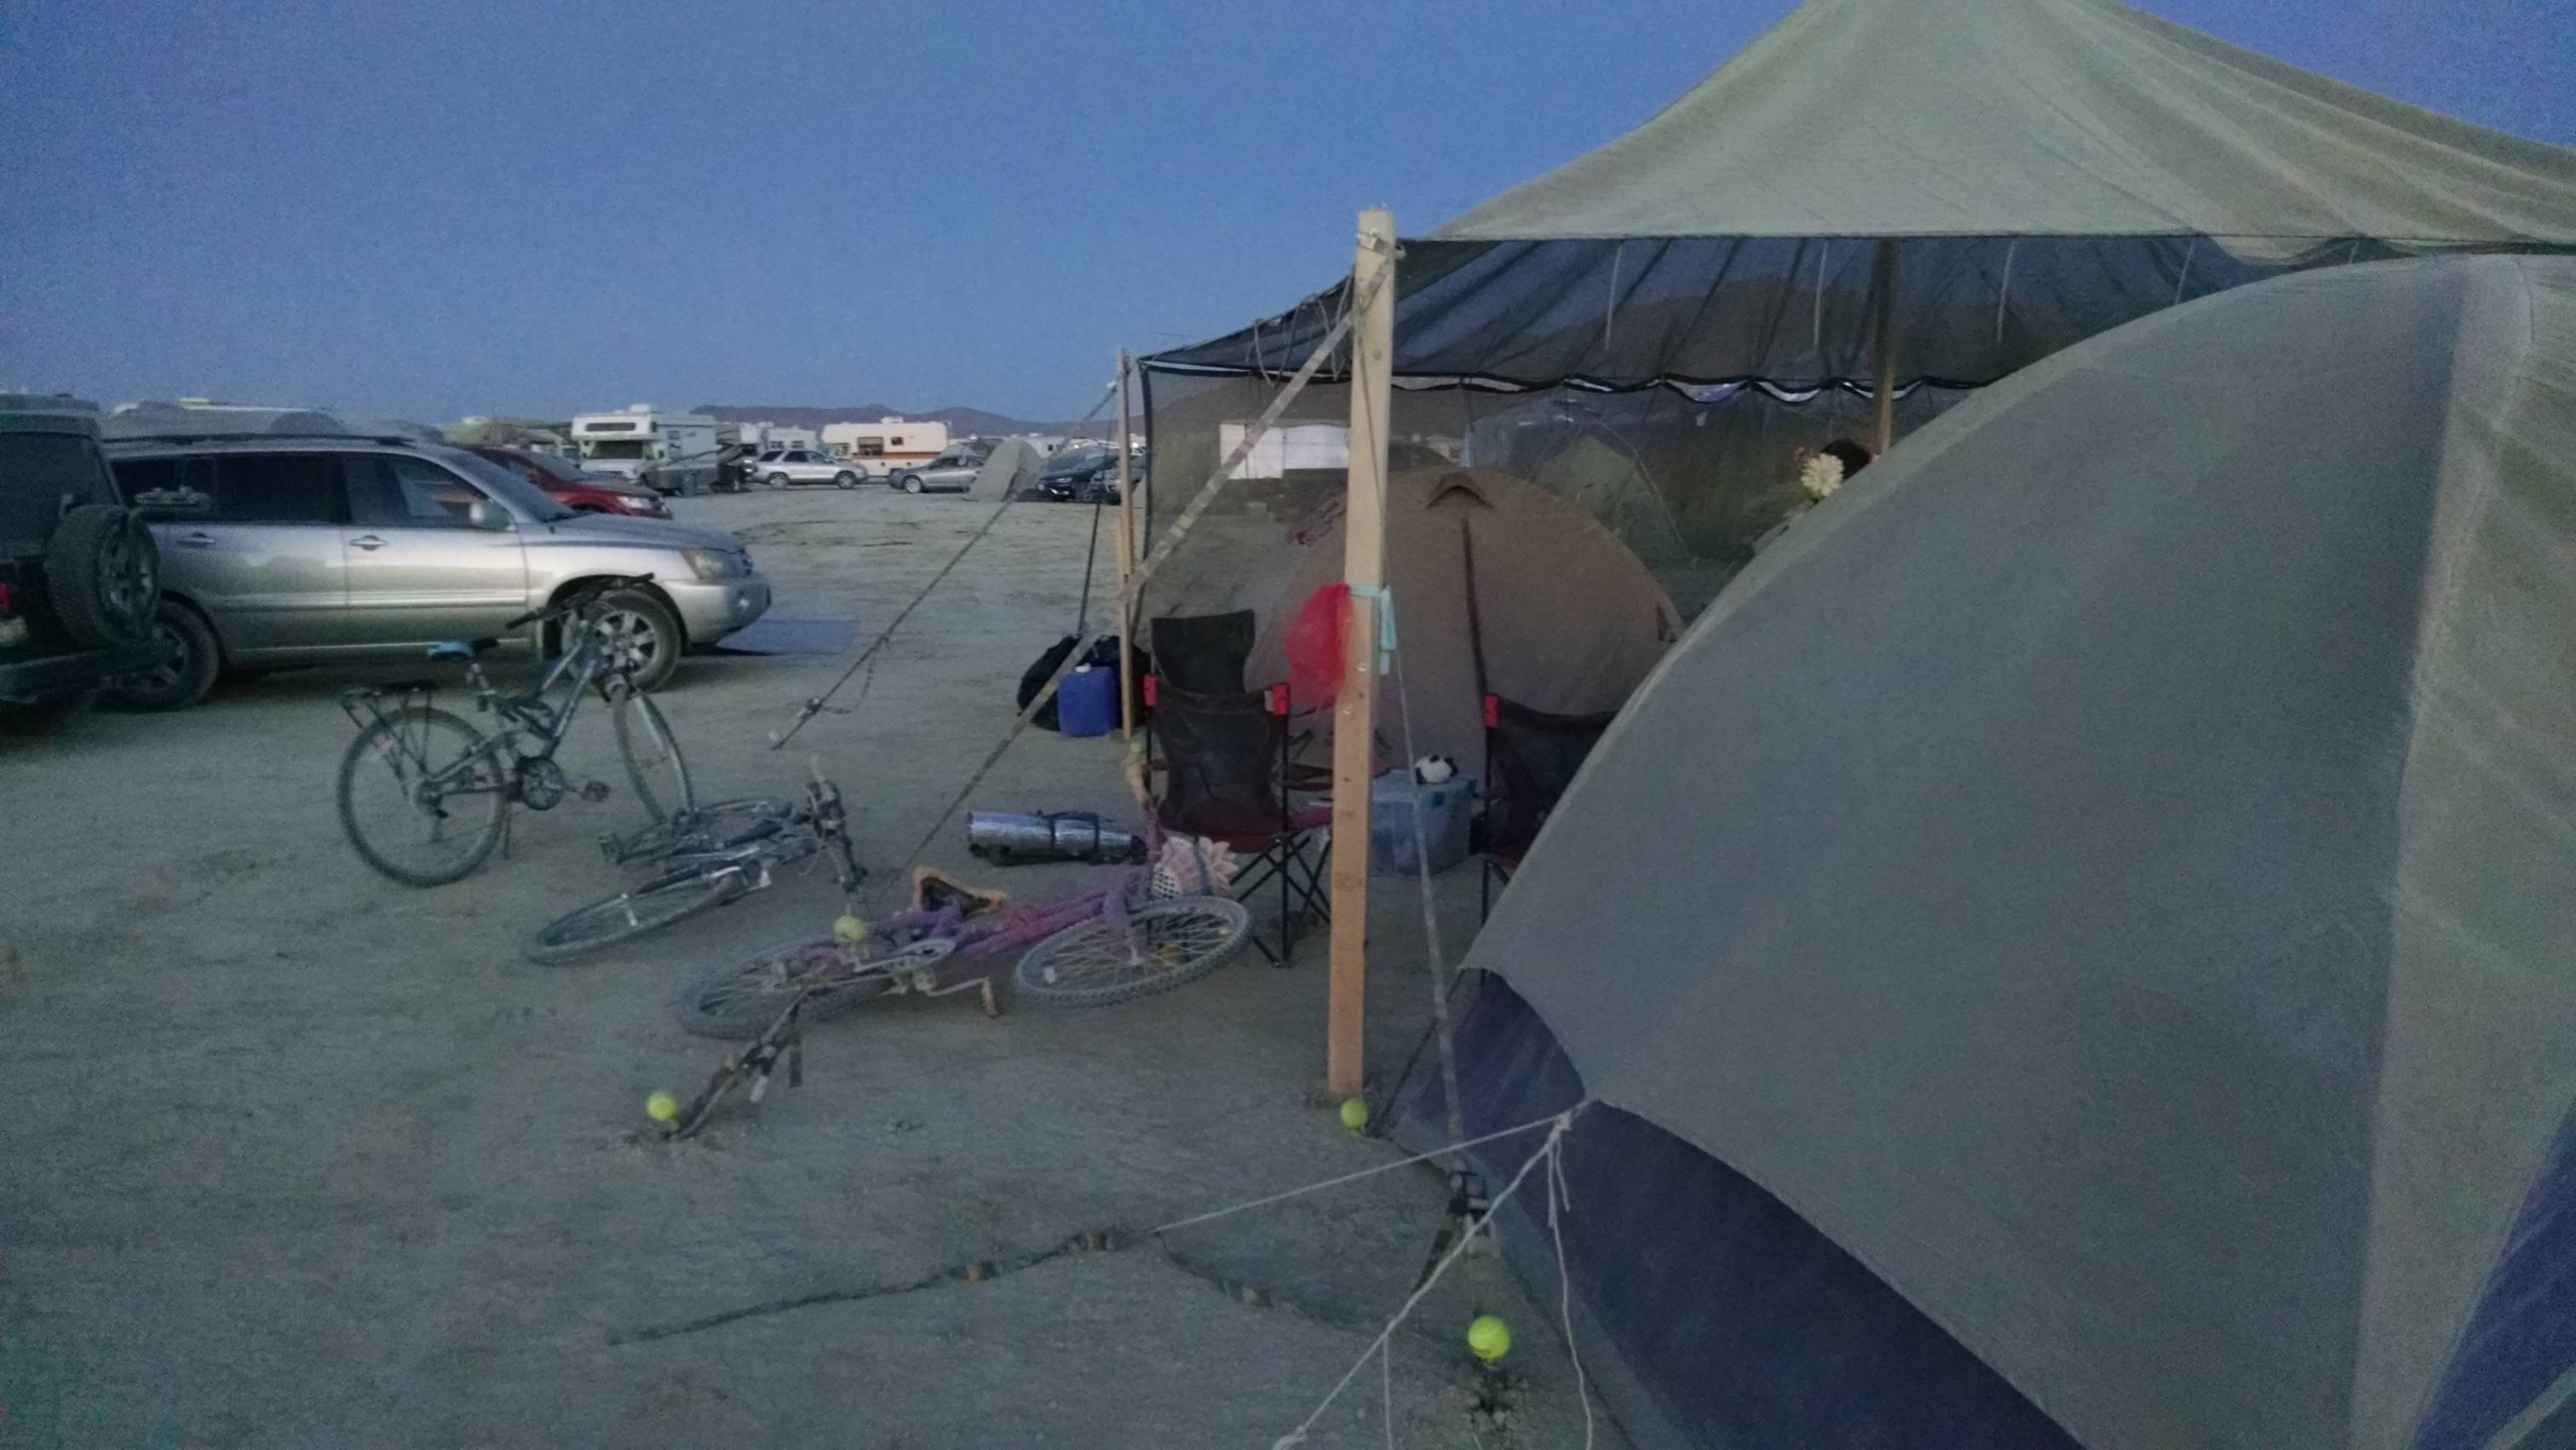
I just got back from Burning Man this year. It was an awesome time. I went with 7 friends and we decided to DIY our own shade structure. We followed Jon Starbuck’s design (archive.org link) which uses a 20’x20′ aluminet tarp stretched between four 7′ tall 2×4 corner posts, with a 10′ tall center post, plus a 20’x10′ sloper on the east side.
The total cost was around $480 dollars (about $390 without the sloper). It easily fit four tents plus plenty of room in the middle as a kitchen / sitting area. Total prep time was about 2 hours plus a practice run to set it up once. In the desert, it took five people somewhere between one and two hours to set up. It provided pretty good shade from sunrise until about 3:30pm. After around 5:30pm, our tents provided good shade from the west.

Here’s a photo from Jon Starbuck’s flickr of his original shade structure.
What follows is essentially a list of modifications, tips, and suggestions that we discovered when building our structure.
Parts List
| Item | Price | Notes |
|---|---|---|
| 20'x20' aluminet | $200 | with nylon webbing and pre-sewn grommets |
| 20'x10' aluminet | $90 | with nylon webbing and pre-sewn grommets |
| 100' static rope | $15 | We got cheap rope. It worked, but it was pretty shot afterwards. |
| 8x ratchet straps | $35 | We got two packs of four, 16' long. These only need to go from the top of the pole to the bottom, with about a ~30 degree angle, but 16' was no more expensive than 10'. |
| 4x 8' 2x4s | $13 | We had the staff at Home Depot cut these exactly in half to make a total of 8 four foot sections. These are for the corner poles. |
| 3x 5' 2x4s | $5 | We bought one 10' board and had it cut in half, then scrounged another spare 5' section from scrap. These are for the center pole. |
| 4x 3/8" x 6" eyebolts | $5 | These are where the rope will pass. We got all hardware in 3/8" diameter. Pick whatever (as long as it's not tiny), but be consistent! |
| 18x 3/8" x 4" hex head cap screws | $15 | We got 18 bolts (3 for each corner post and 6 for the center post). Make sure to get them long enough to go through two 2x4s. Also, especially if you suck at drilling like me, having threads only on the last inch of the bolt is very nice. |
| 100x 3/8" washers | $11 | We bought a ton of washers. It was way easier than figuring out exactly how many we'd need. |
| 100x 3/8" nuts | $10 | Ditto. |
| 100x black zipties | $15 | The tarps will be zip-tied to the rope. Also, I used a ton of these things to fix random stuff that broke on the Playa. Get decent ones. I'm not including a link because the ones that I bought broke a lot. They worked, but I'd have much rather had better ones. |
| 100' paracord | $15 | We also used this for a lot of repairs and tie-downs. I suggest getting some reflective paracord as well, because it's much easier to see in the night. |
| 14x 3/8"x3' rebar | $27 | We got 2' rebar. Get 3'. Also, get more than you think you need. Don't forget your tents. |
| 14x tennis balls | $15 | You put the tennis balls over your rebar, or you will eventually injure yourself by stepping on it. |
| 8x 1/4"-5/8" hose clamps | $6 | These are part of a system for attaching to the rebar. Get extras! |
| 8x 1/2" fender washers | $3 | These are part of a system for attaching to the rebar. Get extras! |
We made a number of modifications to Jon’s design:
- We were transporting our structure in three cars, none of which had a roof rack. Because we didn’t have a truck or rack, we had a maximum length limit of about five feet (5′). None of our poles could be longer than 5′, so we cut the corner poles into two 4′ sections, with a one foot overlap. The center pole was made of three 5′ sections, also overlapping by one foot.
- Our aluminet came with two inches of static nylon webbing sewn into the edge, with grommets added into that webbing. Jon’s original design relies significantly on the stretch of the aluminet, so we had to lengthen the center pole to make up for less tension on the edges.
- We added a 20’x10′ sloper on the east side to help keep the sun off in the morning. You could add one on the west side (in addition, or instead) for better afternoon shade.
- We were unable to bend the rebar. “Candy caning” it is actually counterproductive, because it makes it very hard to hammer into the ground. So we worked out another system for attaching to the rebar. See below.
Preparation
Total preparation time took two people around four hours, not counting shopping or our test of raising the structure. Most of that time went into drilling holes in the corner poles and ensuring they assembled. If you can transport 8′ length poles, it would be much easier.
Poles
- Cut all the two-by-fours to their correct lengths. You’ll want 8 four-foot segments (for the corner poles) and 3 five-foot segments (for the center pole).
- Drill three holes in a roughly triangular pattern into one segment, covering about a foot.
- Lay a second segment under that (end-to-end) and clamp together. Using a smaller drill bit, make a quick start through the top board into the bottom one (using the top as a template).
- Remove the top board, switch to the bigger drill bit, and drill the three holes into the second board.
- Mark the insides, and number the boards! So you should have “1-IN” on two sections, and when the “IN” parts touch, it should be possible to put bolts through and assemble the board.
- For each corner pole, choose one piece to be the “top”. Drill a hole about 4″ from the top of the board in the center and pass an eye-bolt through there. Secure it with washers and nuts on both sides.
- For the center pole, one section should have holes in both ends. This will be the middle section. Ideally, the other two sections should go on the same side of the board (so the load is more up-and-down), but we messed this up and it worked fine.
- Even if you don’t test anything else, at least test assembling the boards at home. Probably bring your drill and bits as well. Use washers.
Rebar
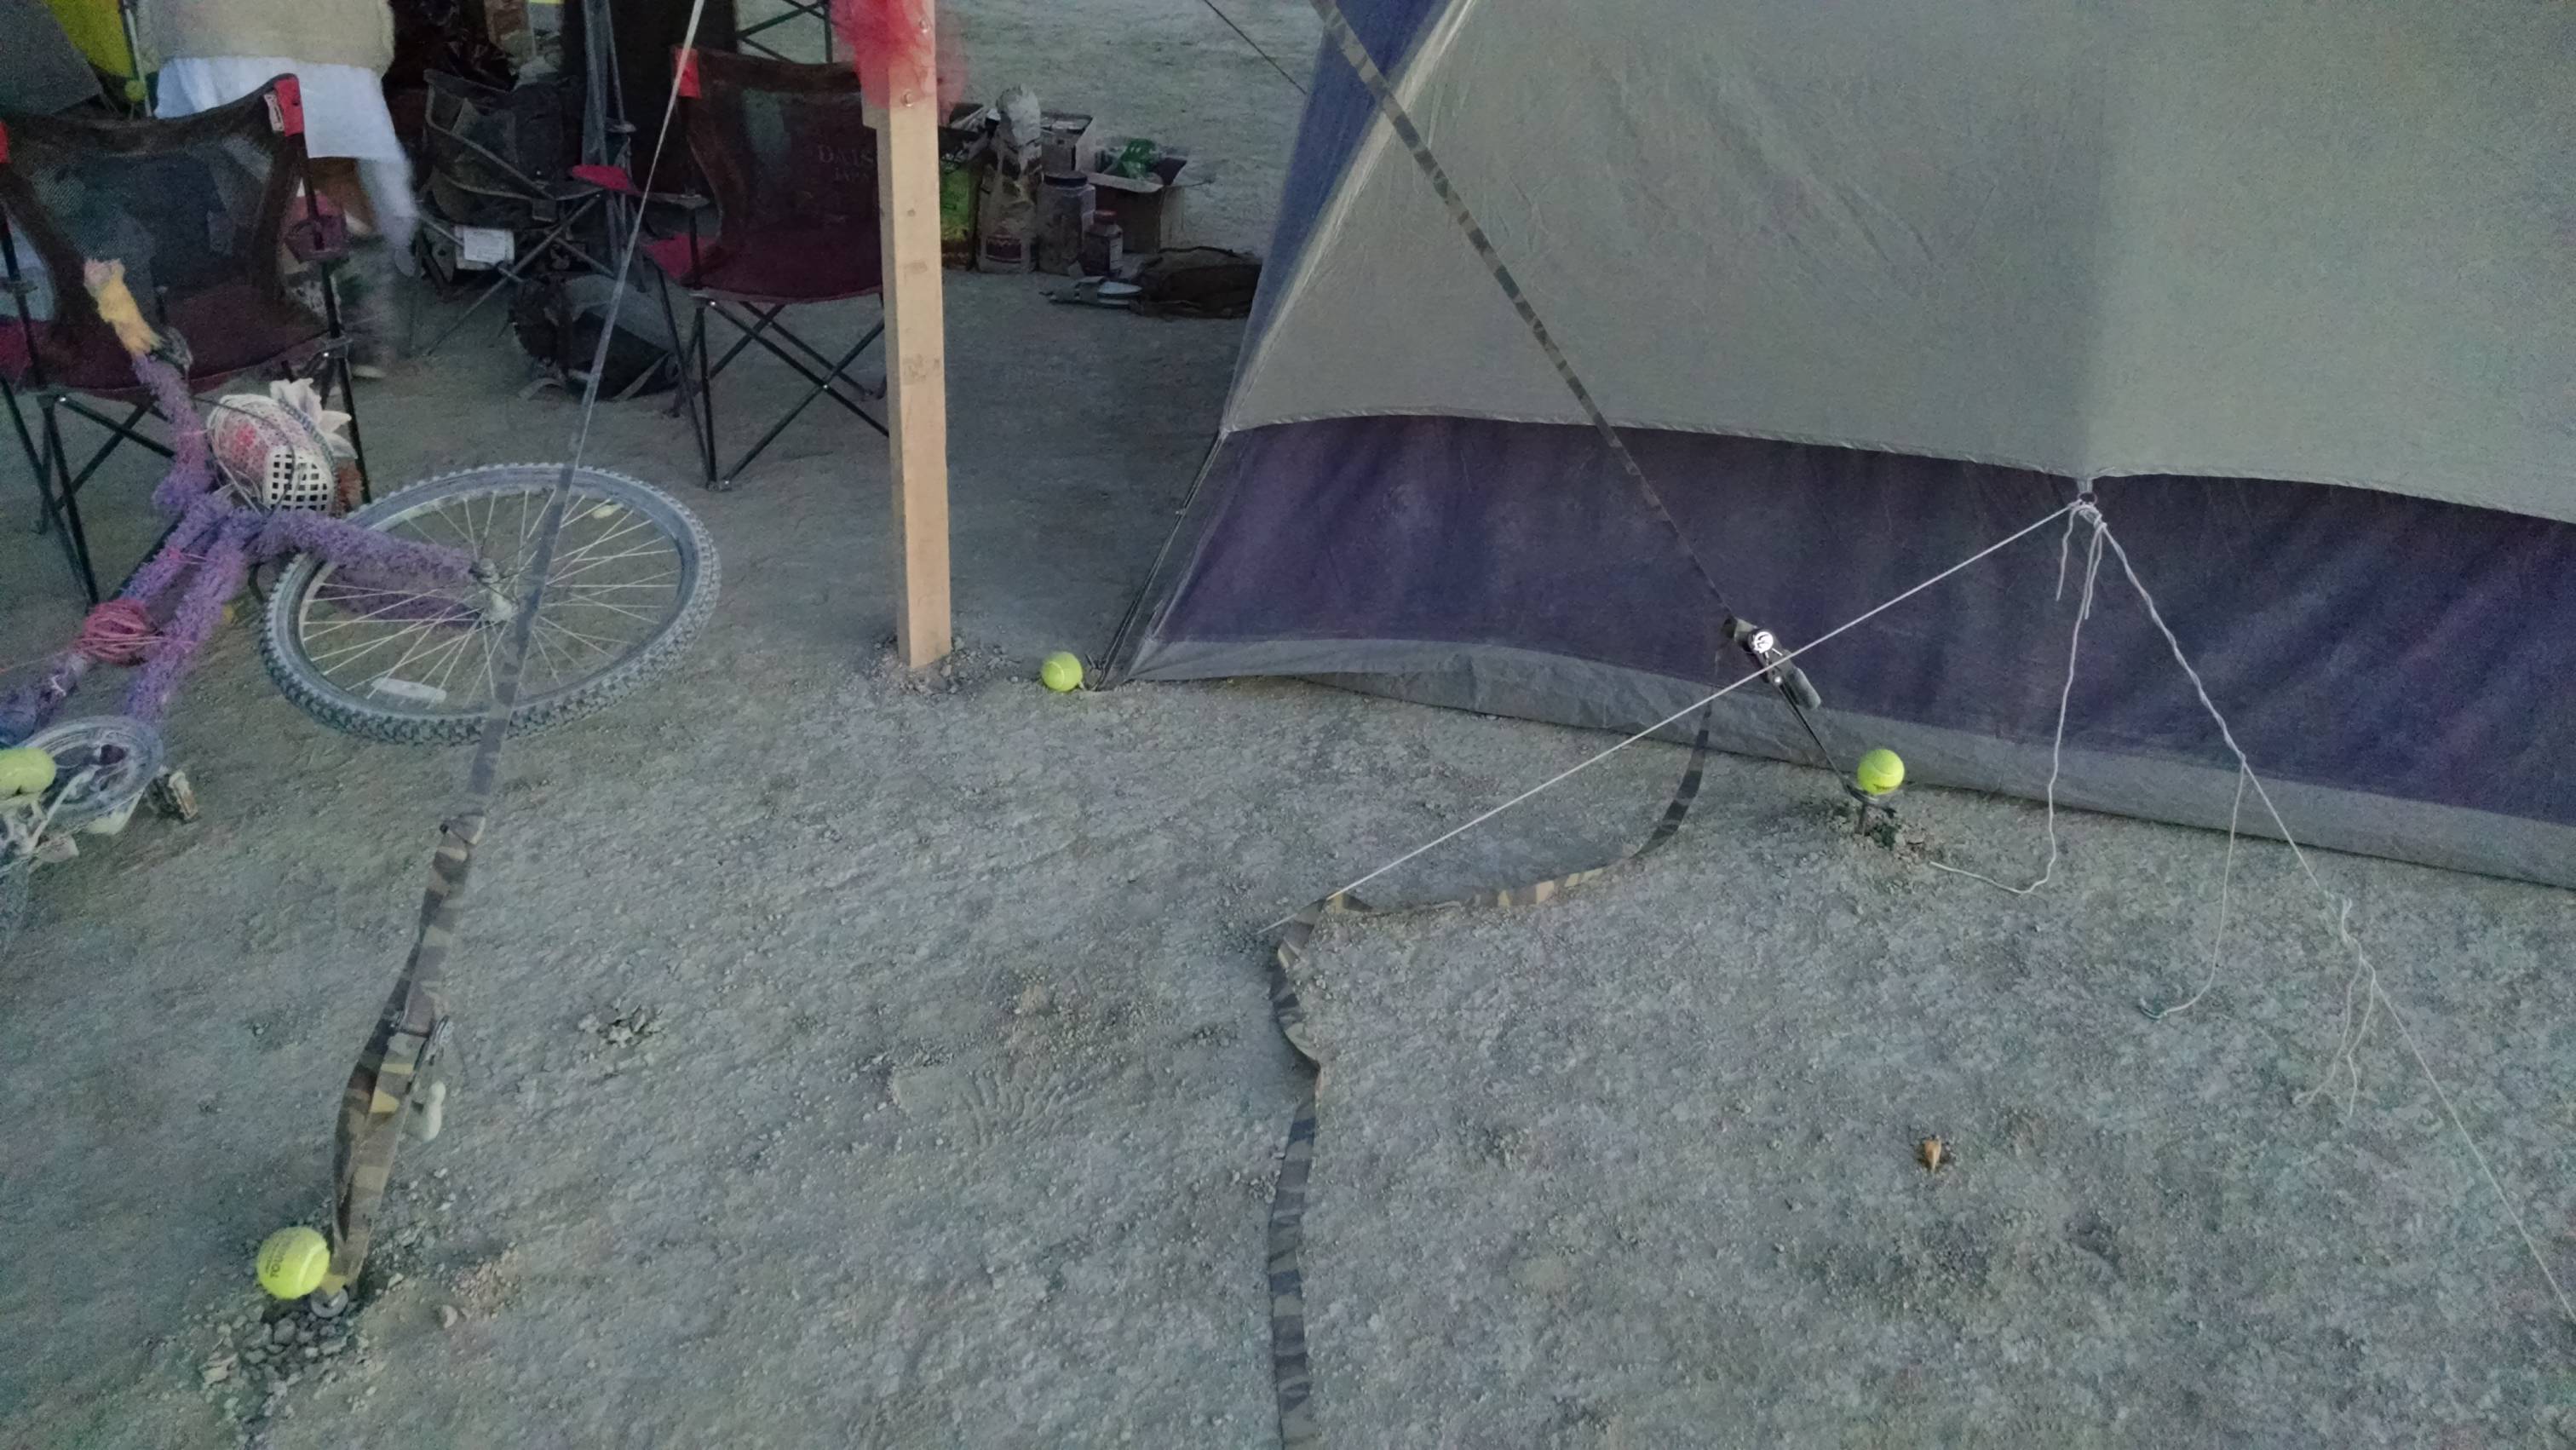
We didn’t have a vice to allow us to bend the rebar, so we worked out another way to keep the ratchet straps attached. Our straps had a hook at the end, as well as a closed ring. On each piece of rebar, we placed a 1/2″ fender washer. Above that, we attached a hose clamp and tightened it down. The hole in the washer could slide over the rebar but not the hose clamp. The washer was too big for the ratchet strap to slide over it. This kept the ratchet straps strongly in place without bending anything.
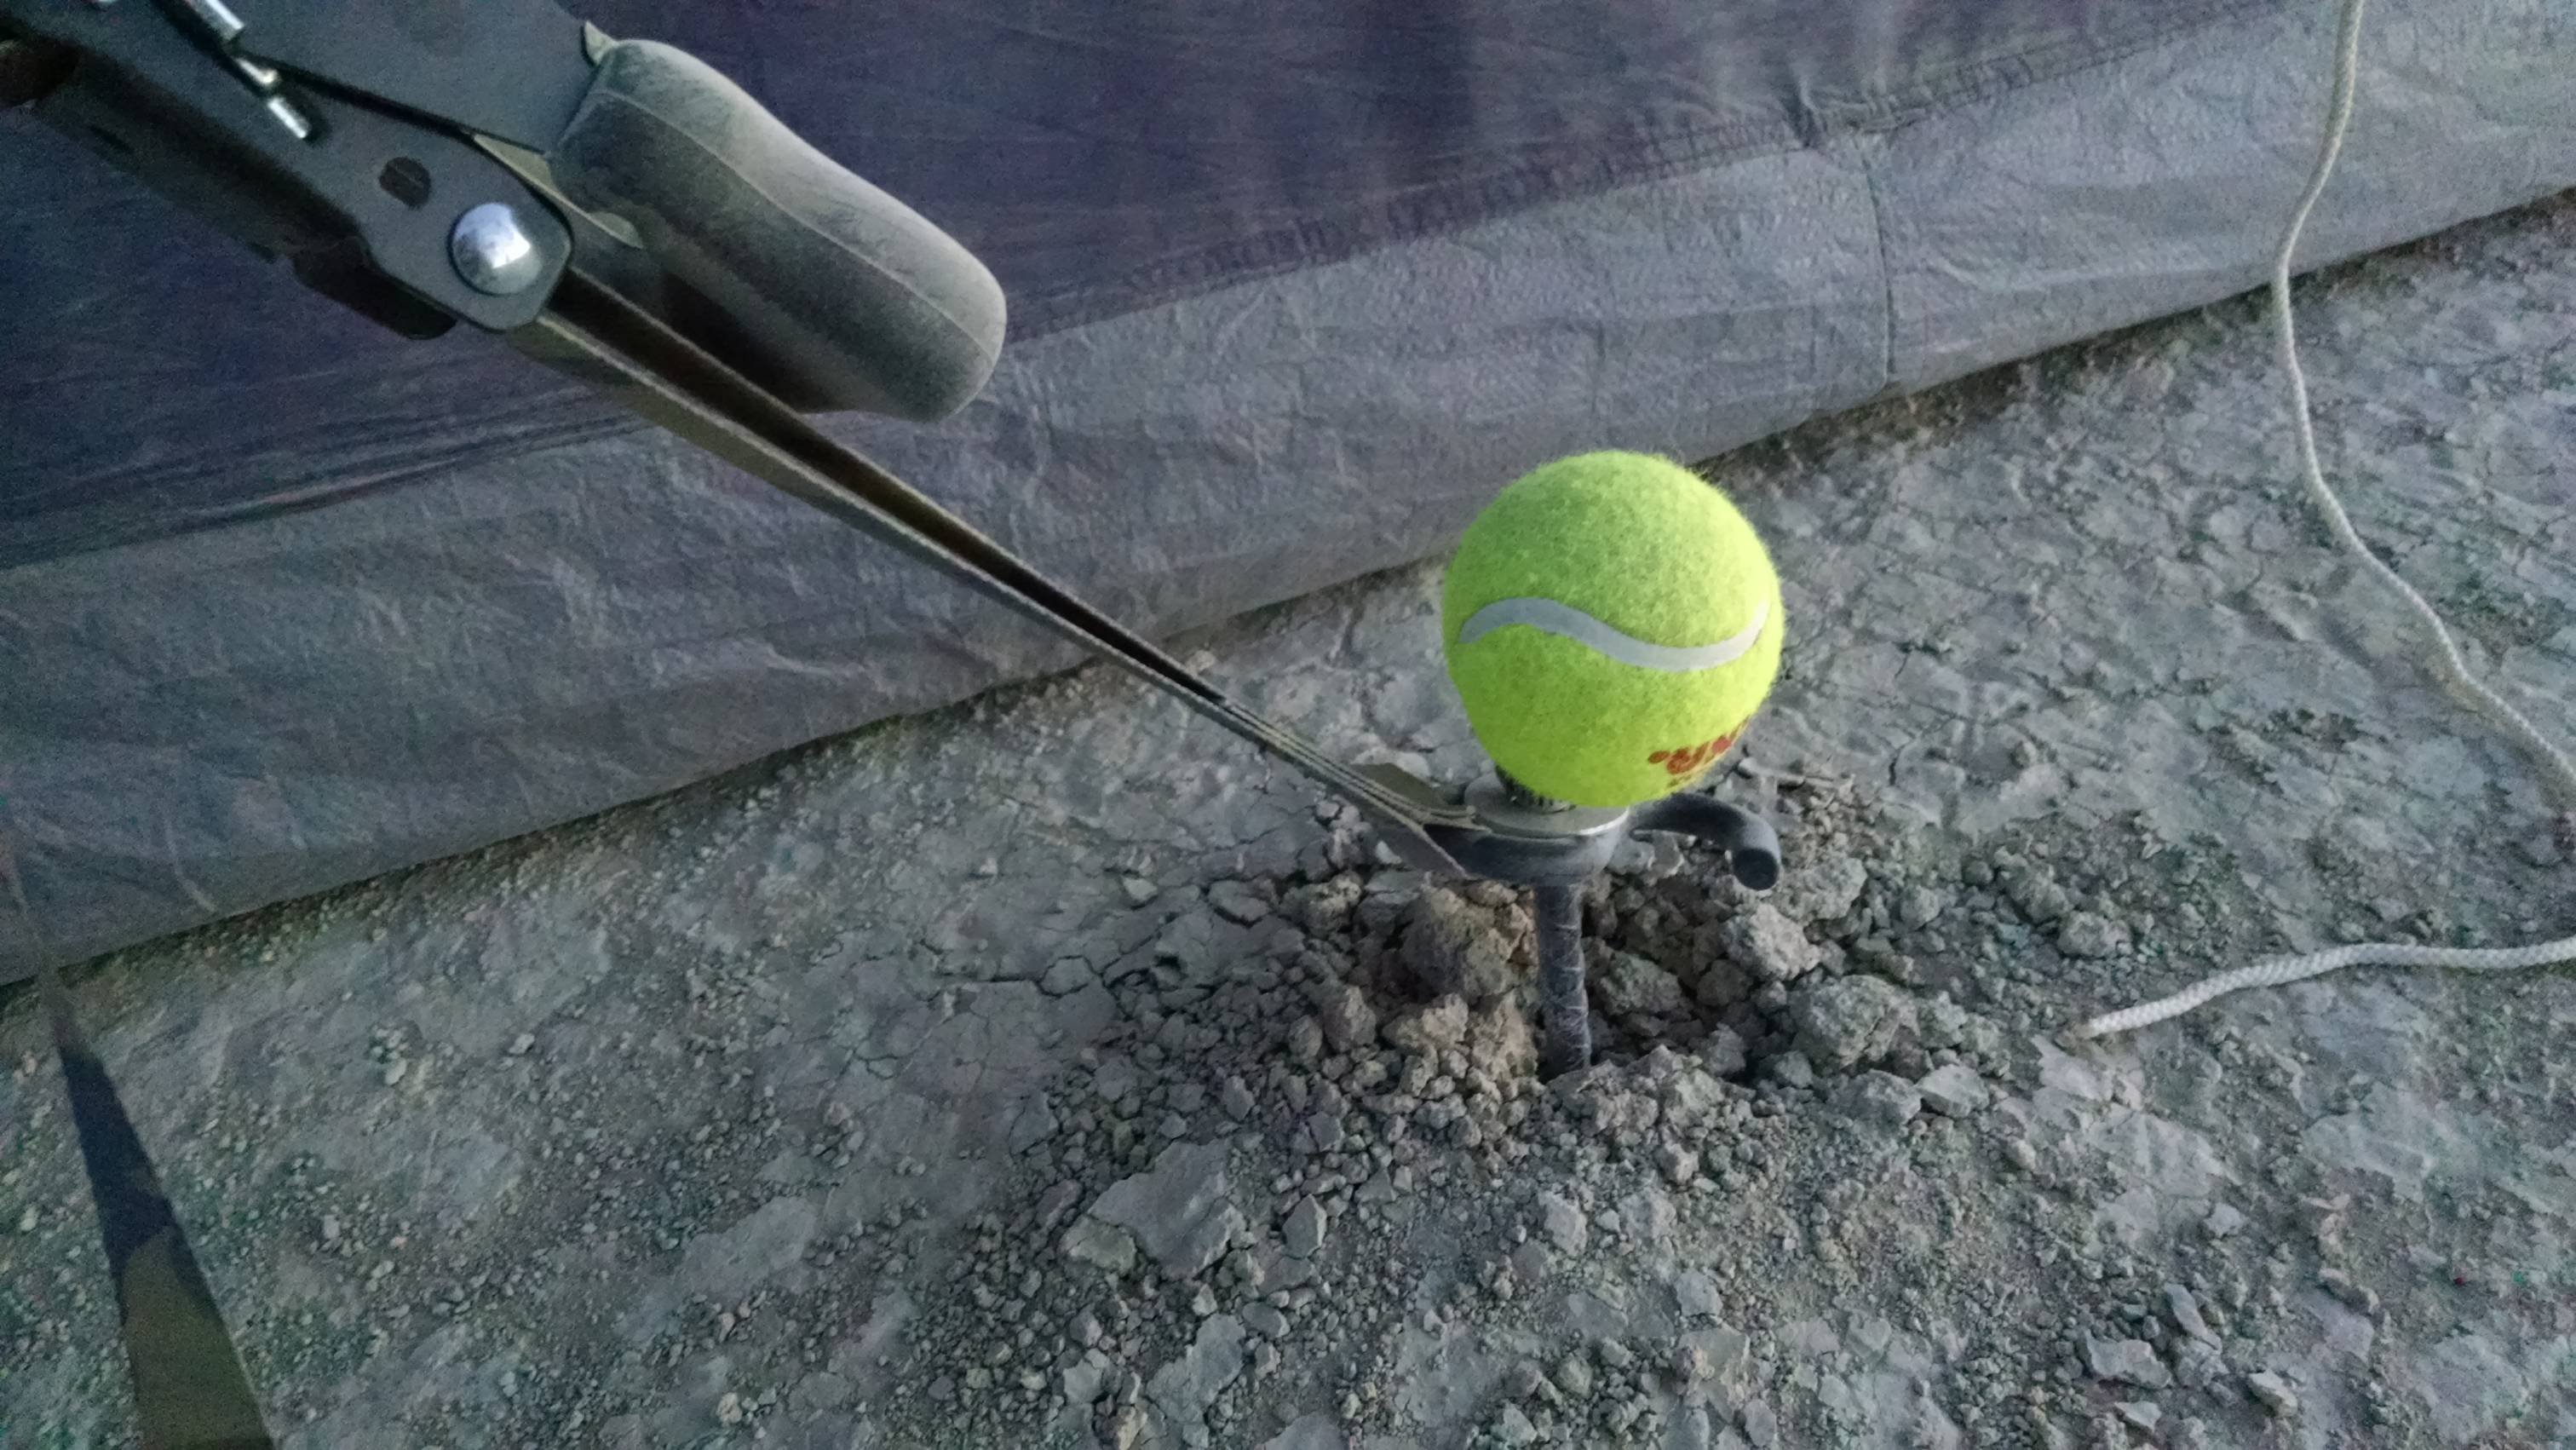
Rebar, washer, and hose clamp. The tennis ball saves your feet.
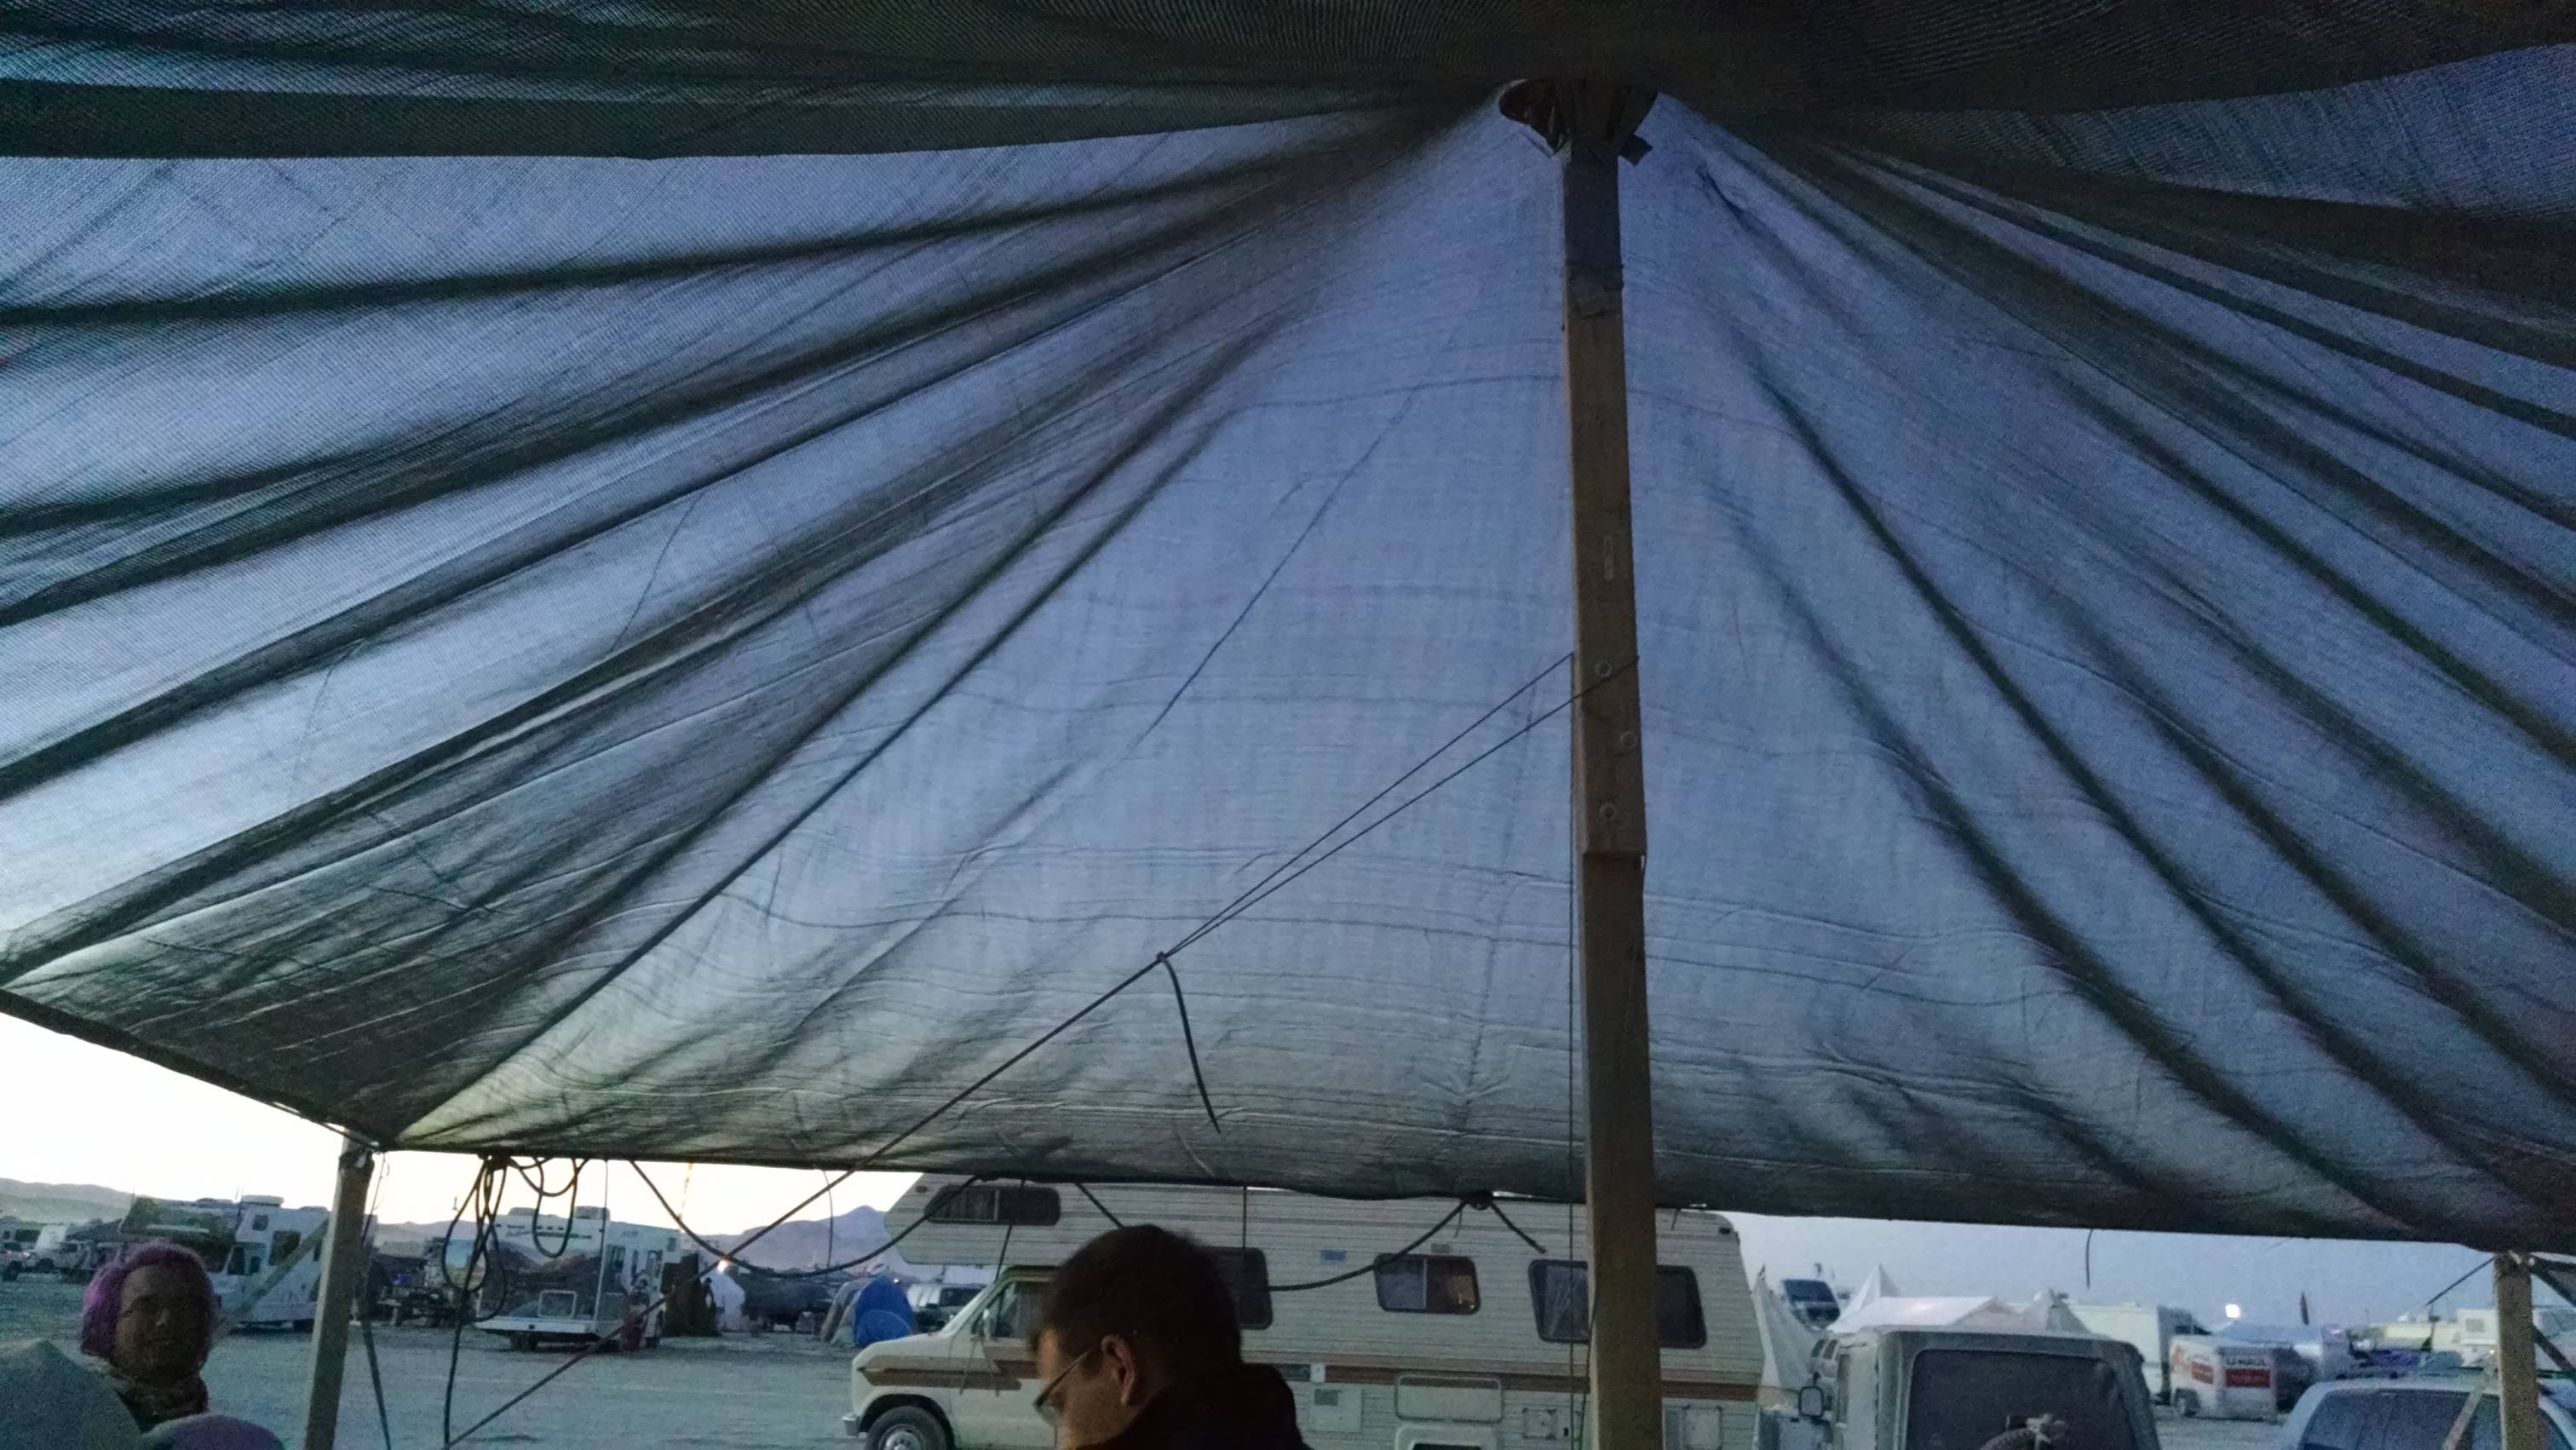
Center Pole
Because we weren’t sure how much stretch we needed in the tarp, we planned to cut the center pole to length when we got to the desert. We eyeballed the final length, but it was pretty close to 13′. Starting too big and using a handsaw is a pretty good strategy. It doesn’t take long at all to cut through a 2×4.
Erecting the Structure
Erecting the structure took around 2 hours when we got to Black Rock City. The approach we used required at least five people. Essentially, the rope is used to connect the poles and placed under tension. Then the aluminet is raised over the top and ziptied on. Finally, the center pole is raised to support the middle.
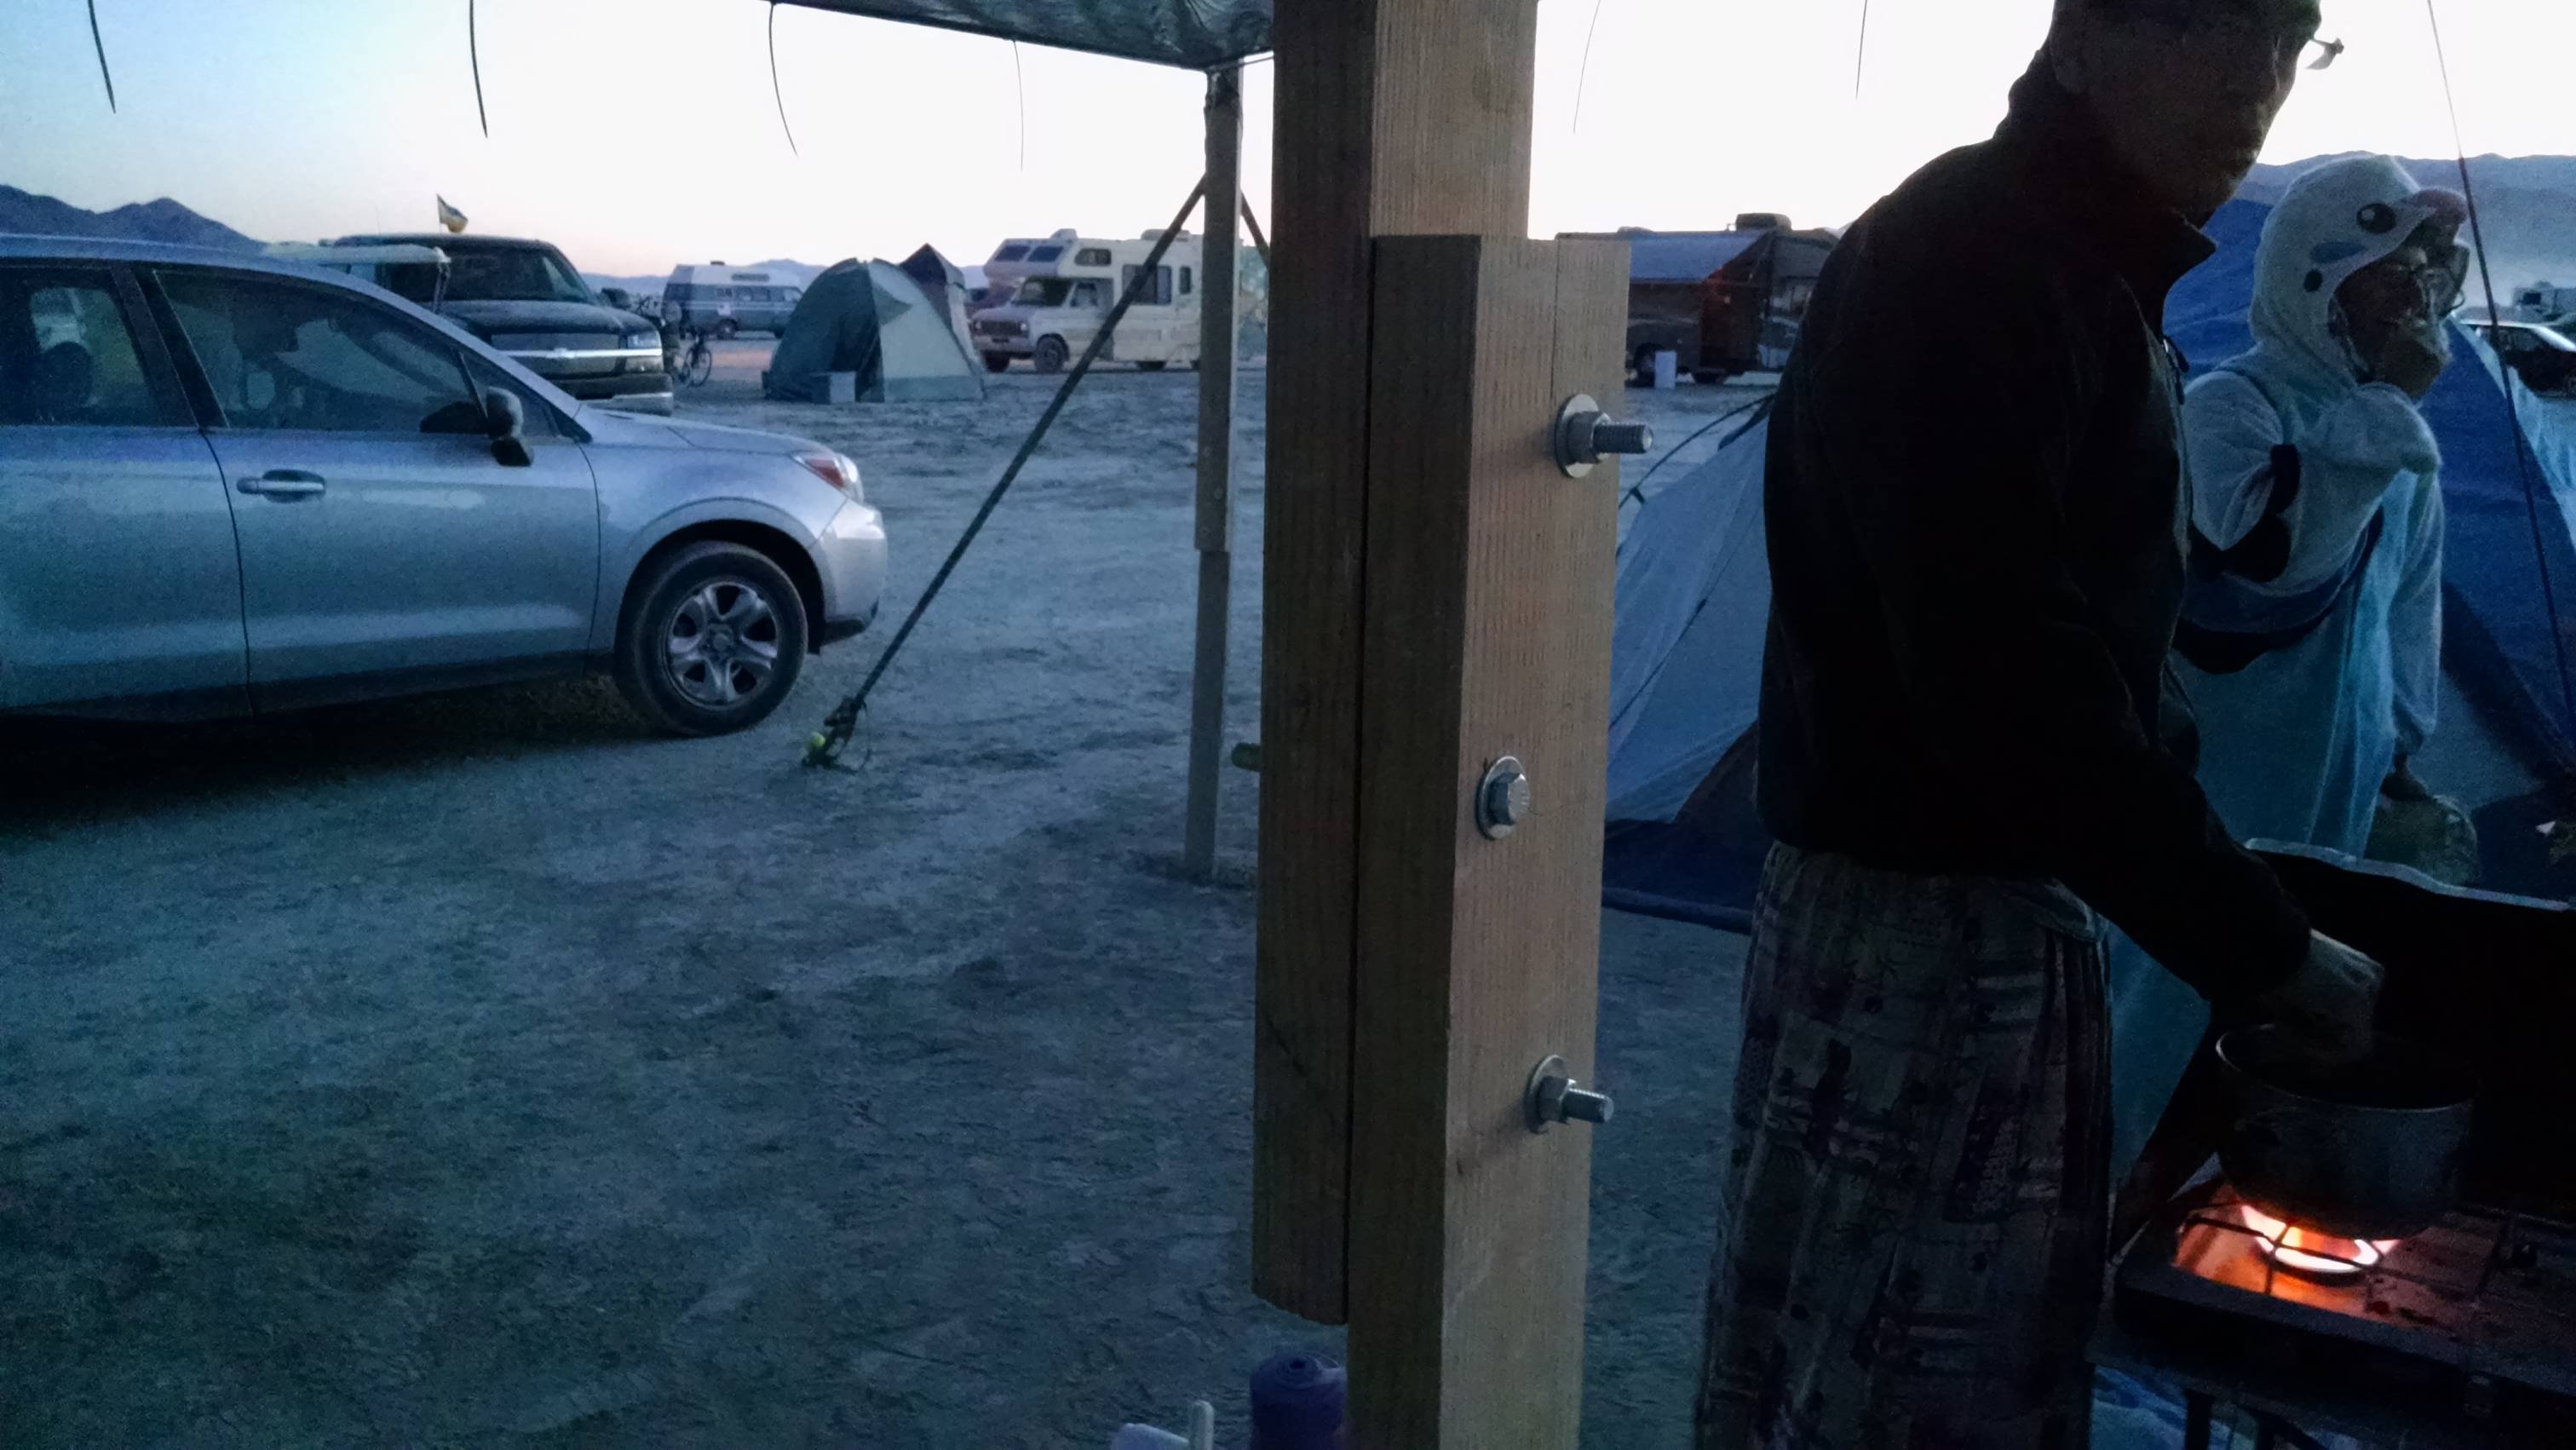
- Assemble the four corner poles with three bolts each. Use washers.
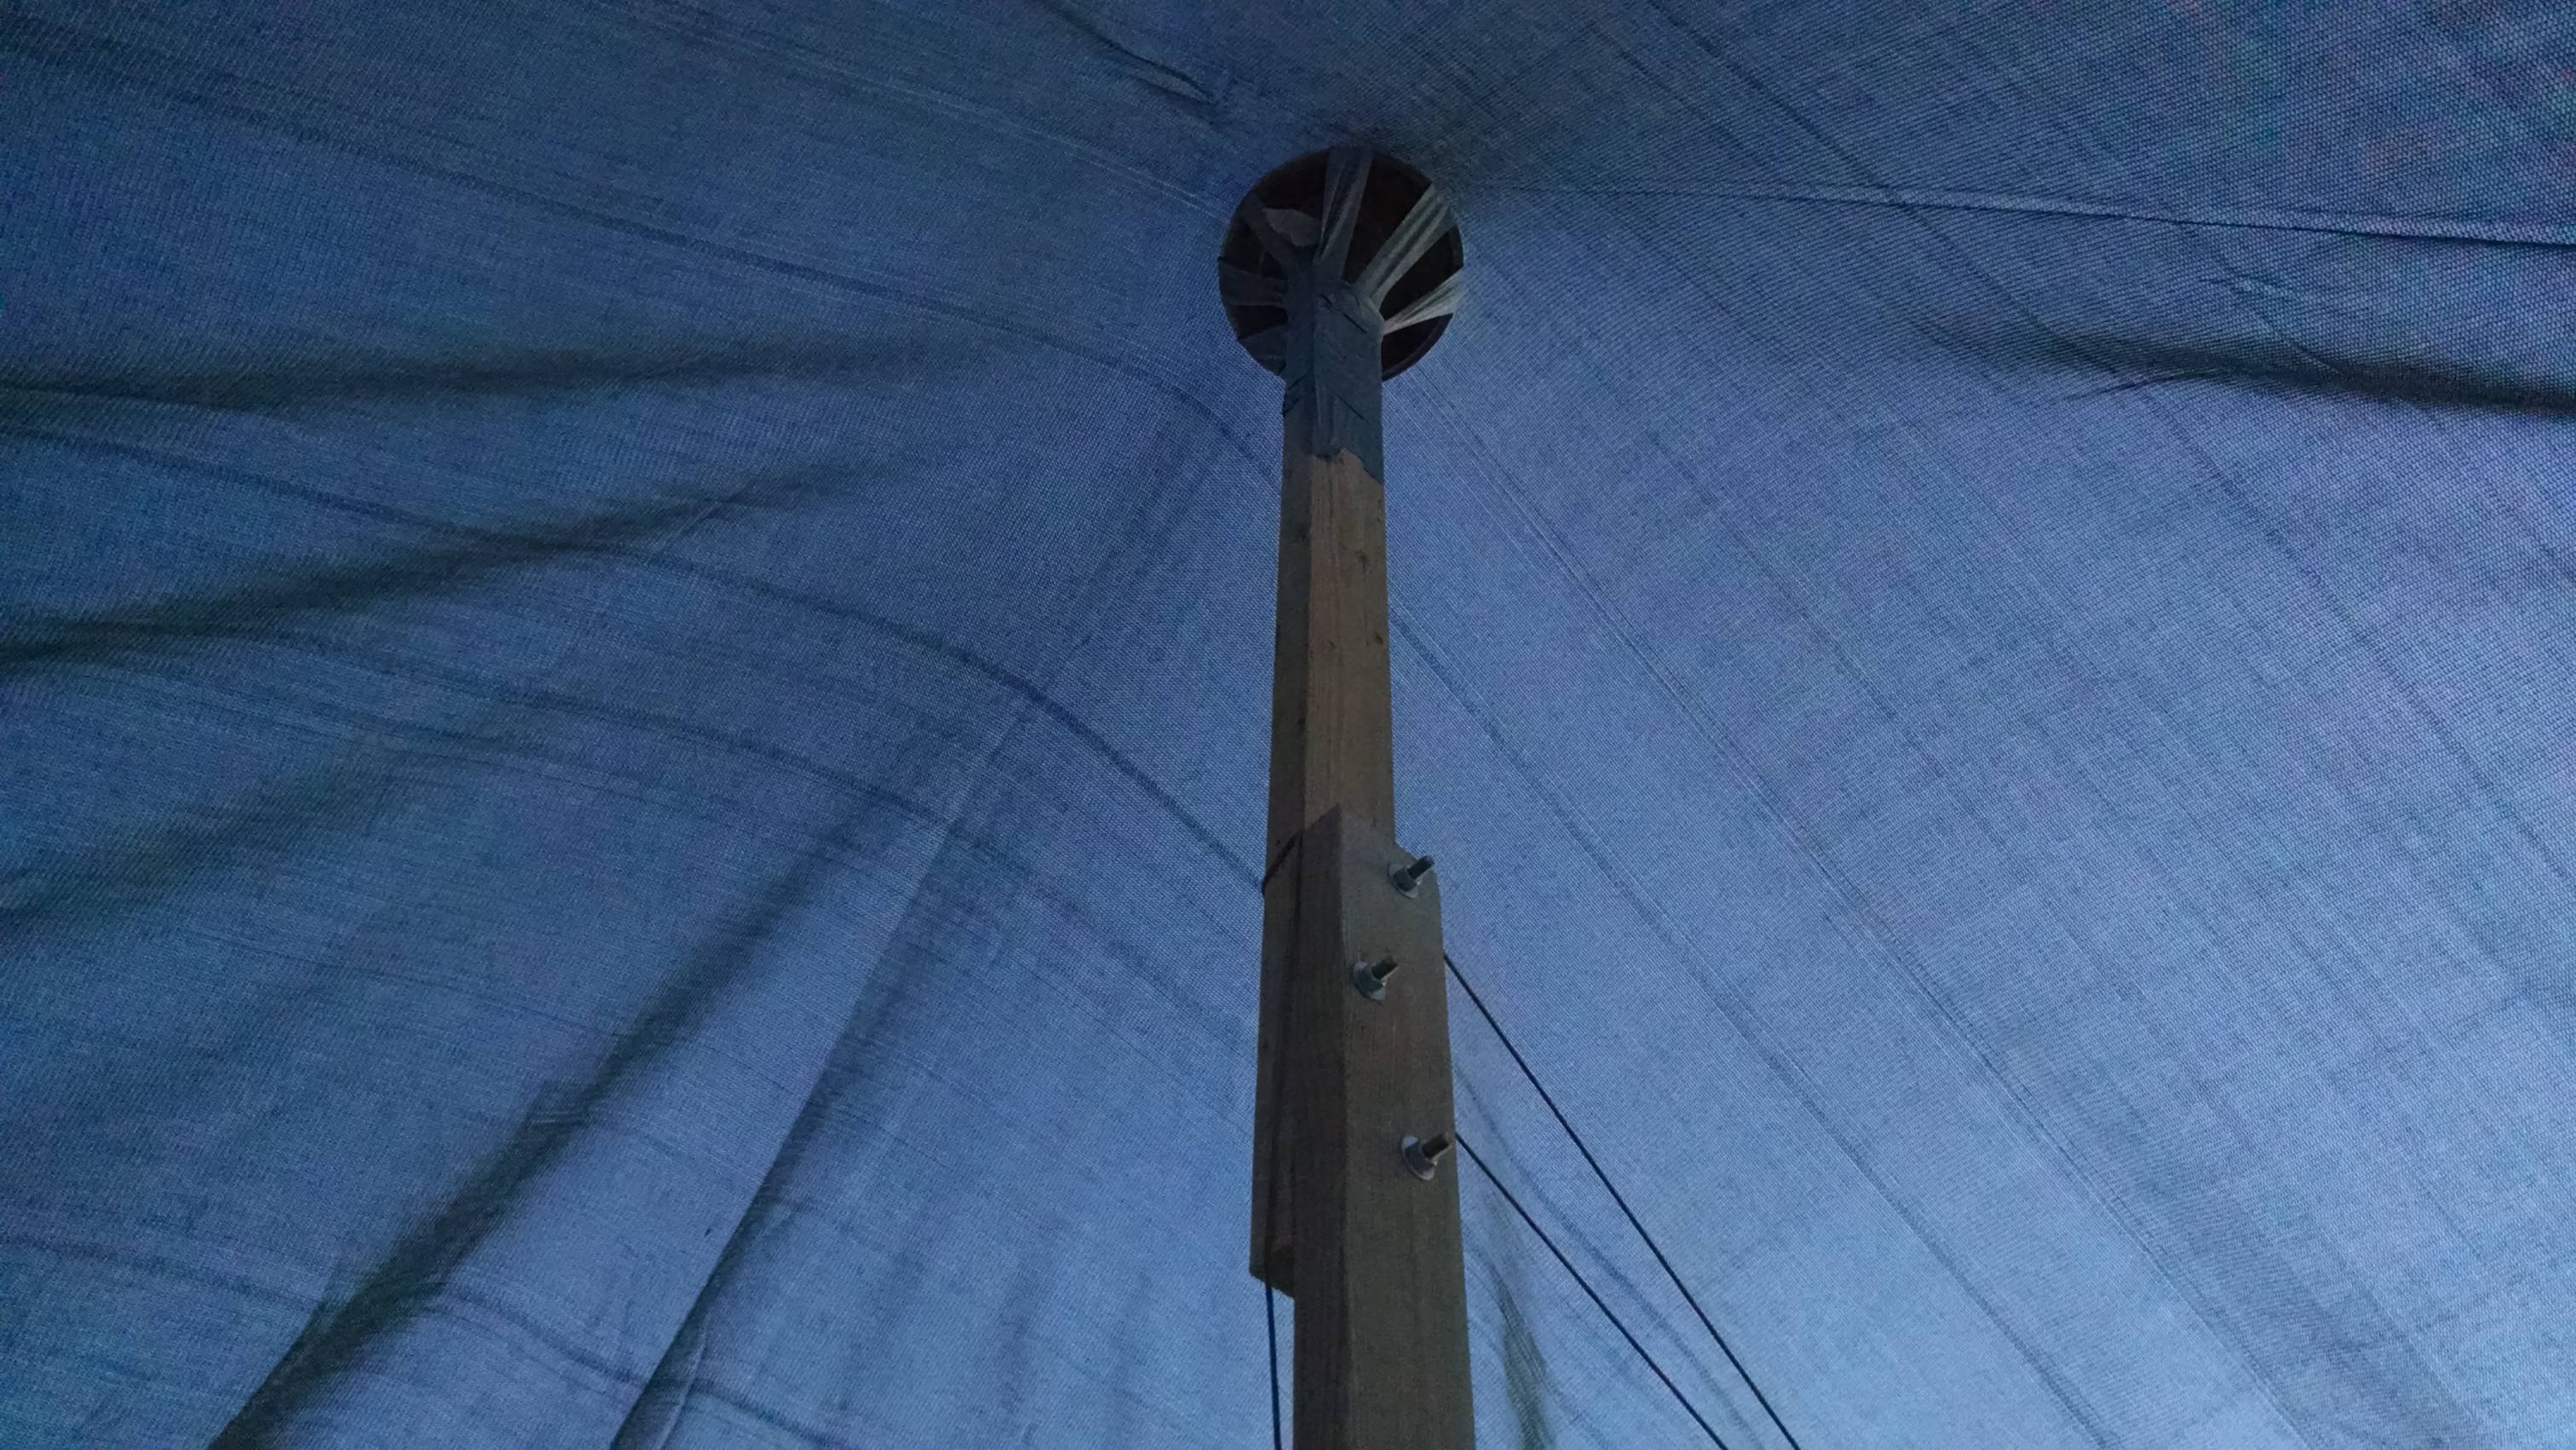
- Assemble all three sections of the center pole, and attach something soft/smooth to the top. We used a metal bowl and a ton of duck tape. Others have used a towel or rag.
- Lay out the main tarp on the ground.
- One person should stand at each corner, holding a corner pole.
- Run the rope through the eyebolts at the top of each corner pole.
- Stand up all of the poles, then lean them in a bit.
- Pull the rope tight and tie a knot.
- Stand up all of the poles. This provides the tension in the rope. It should be pretty tight.
- Attach the long bits of two ratchet straps to the top of each corner pole.
- Attach the short, ratcheting pieces of the strap to two different pieces of rebar, spaced about 90° apart and about 6′ away from the base of the pole.
- Ratchet the two straps down until they’re taut. This replaces the person holding up that pole.
- Once all four poles are tight, walk around and tighten them all up a bit more. Make sure to leave some room in the ratchets to tighten more later if things shift.
- Raise the aluminet and walk it over the tops of the poles.
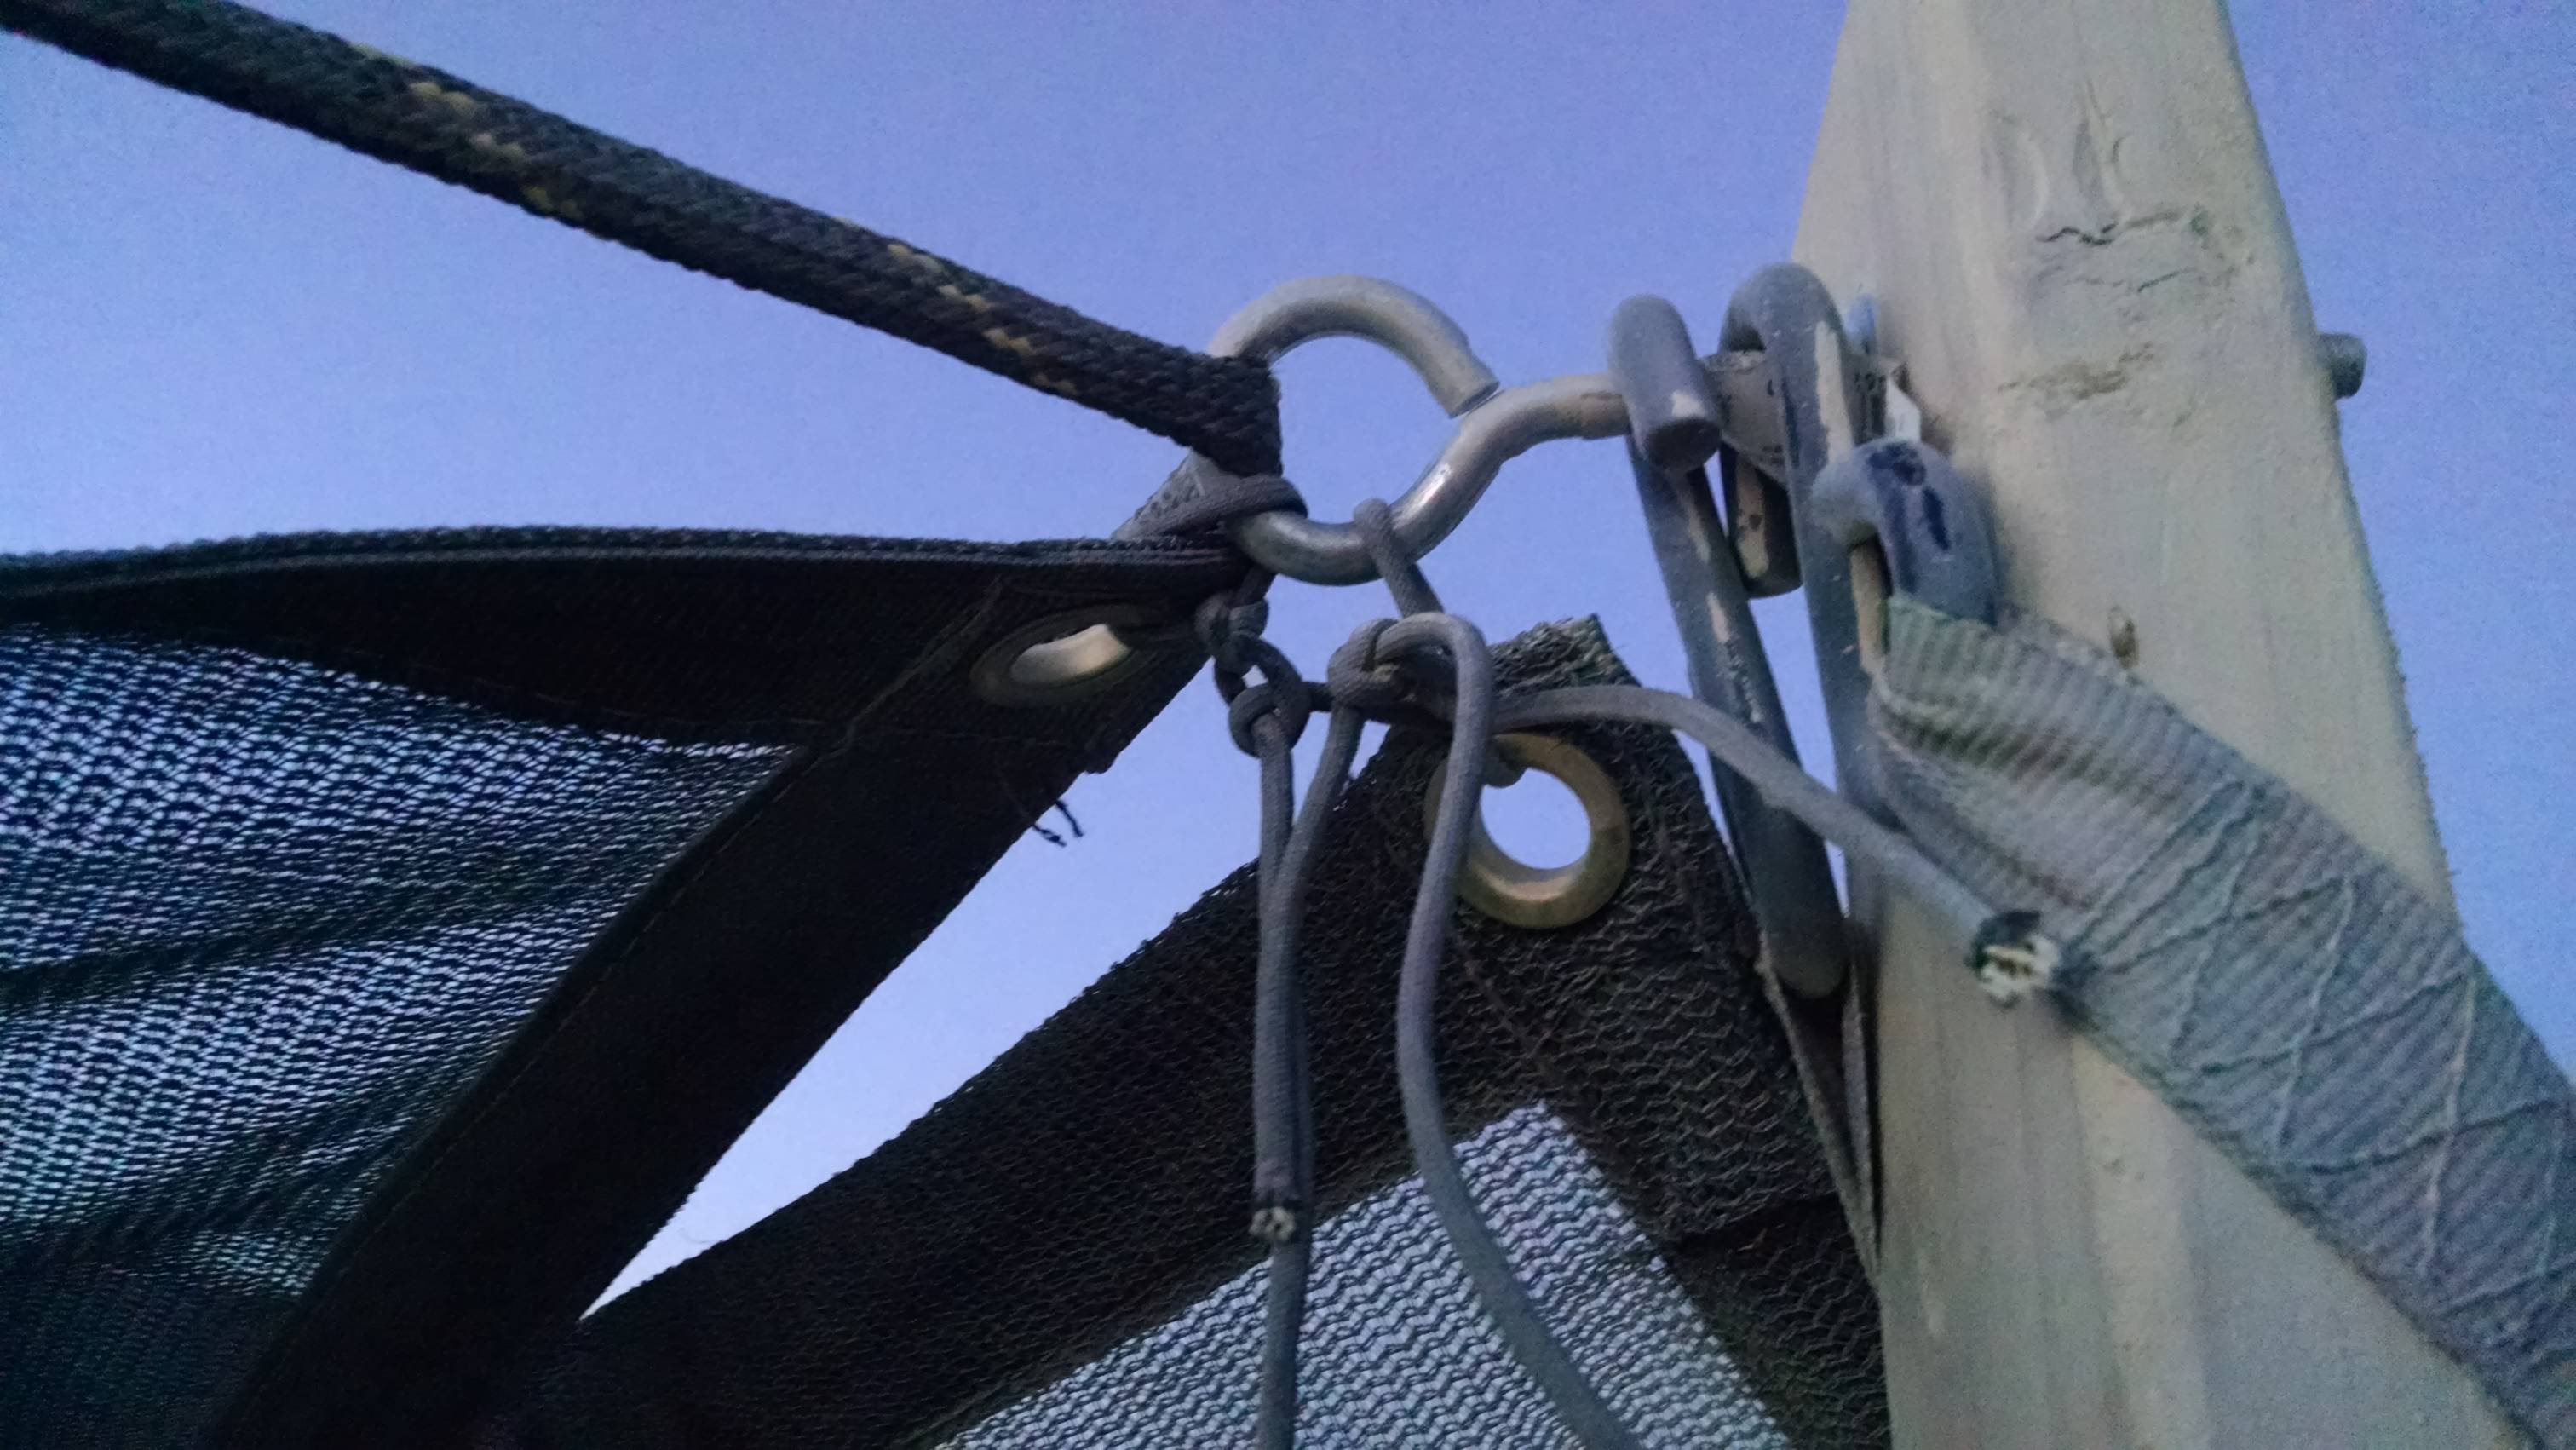
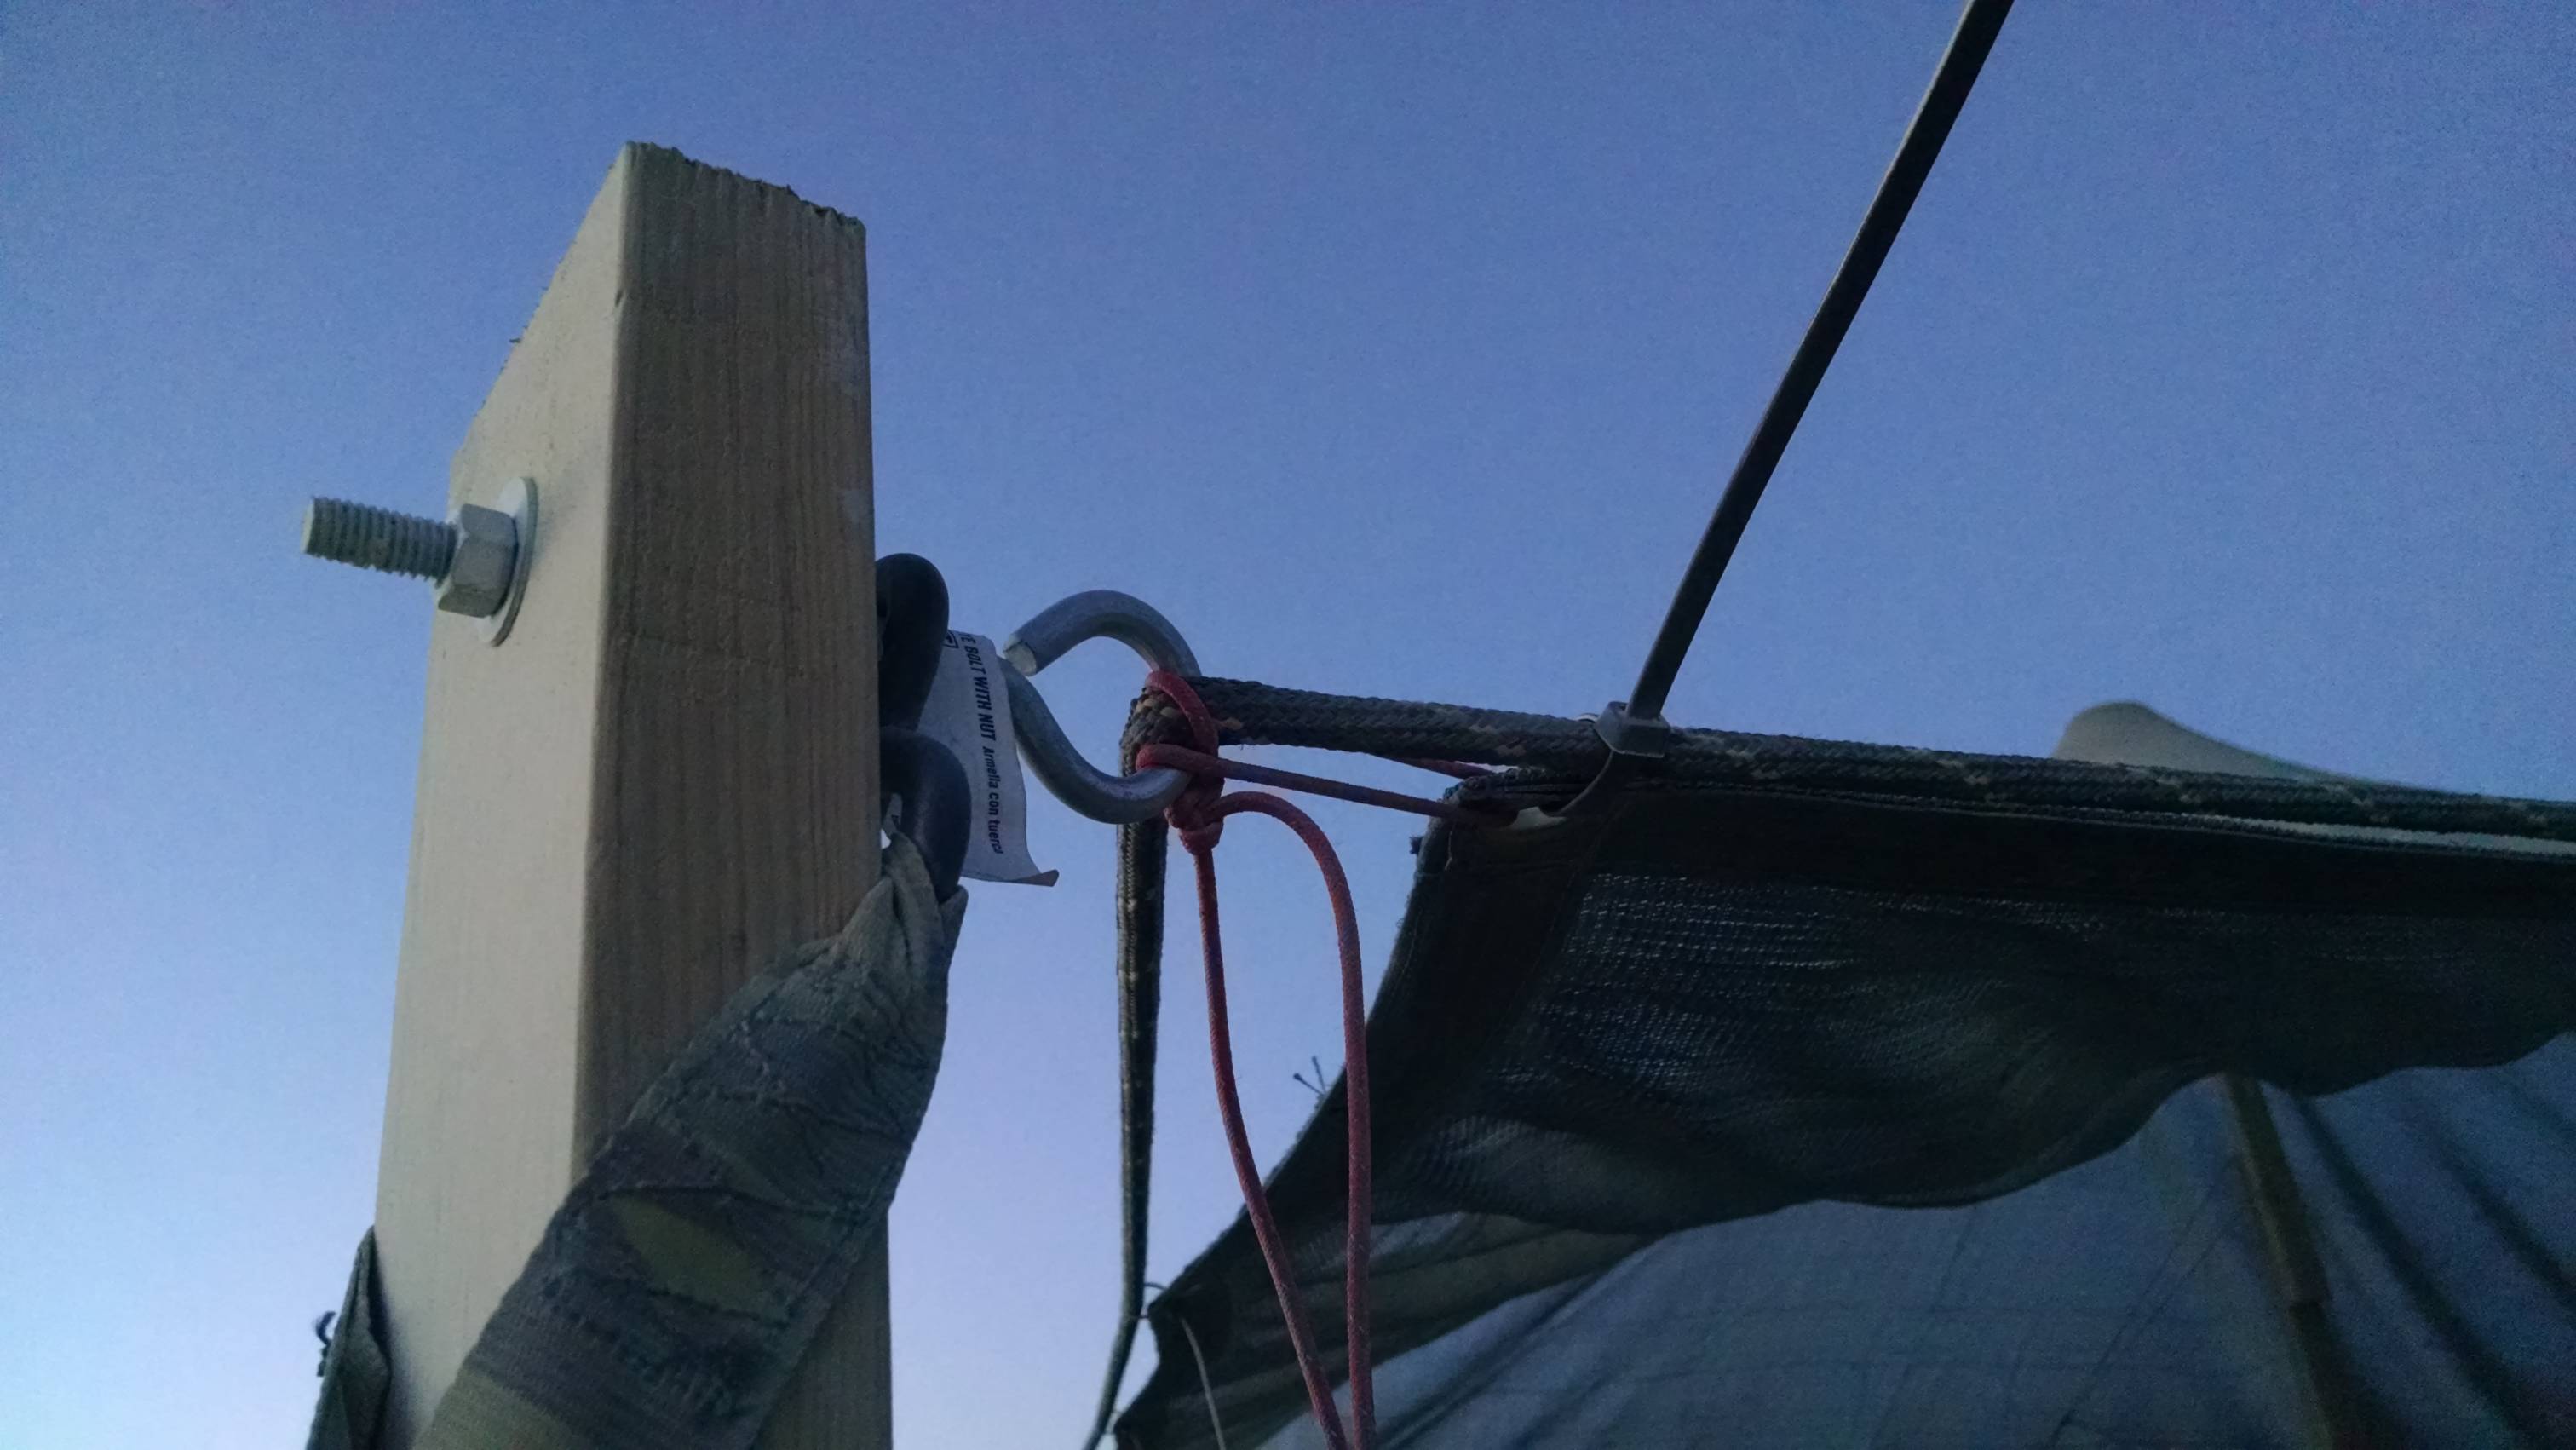
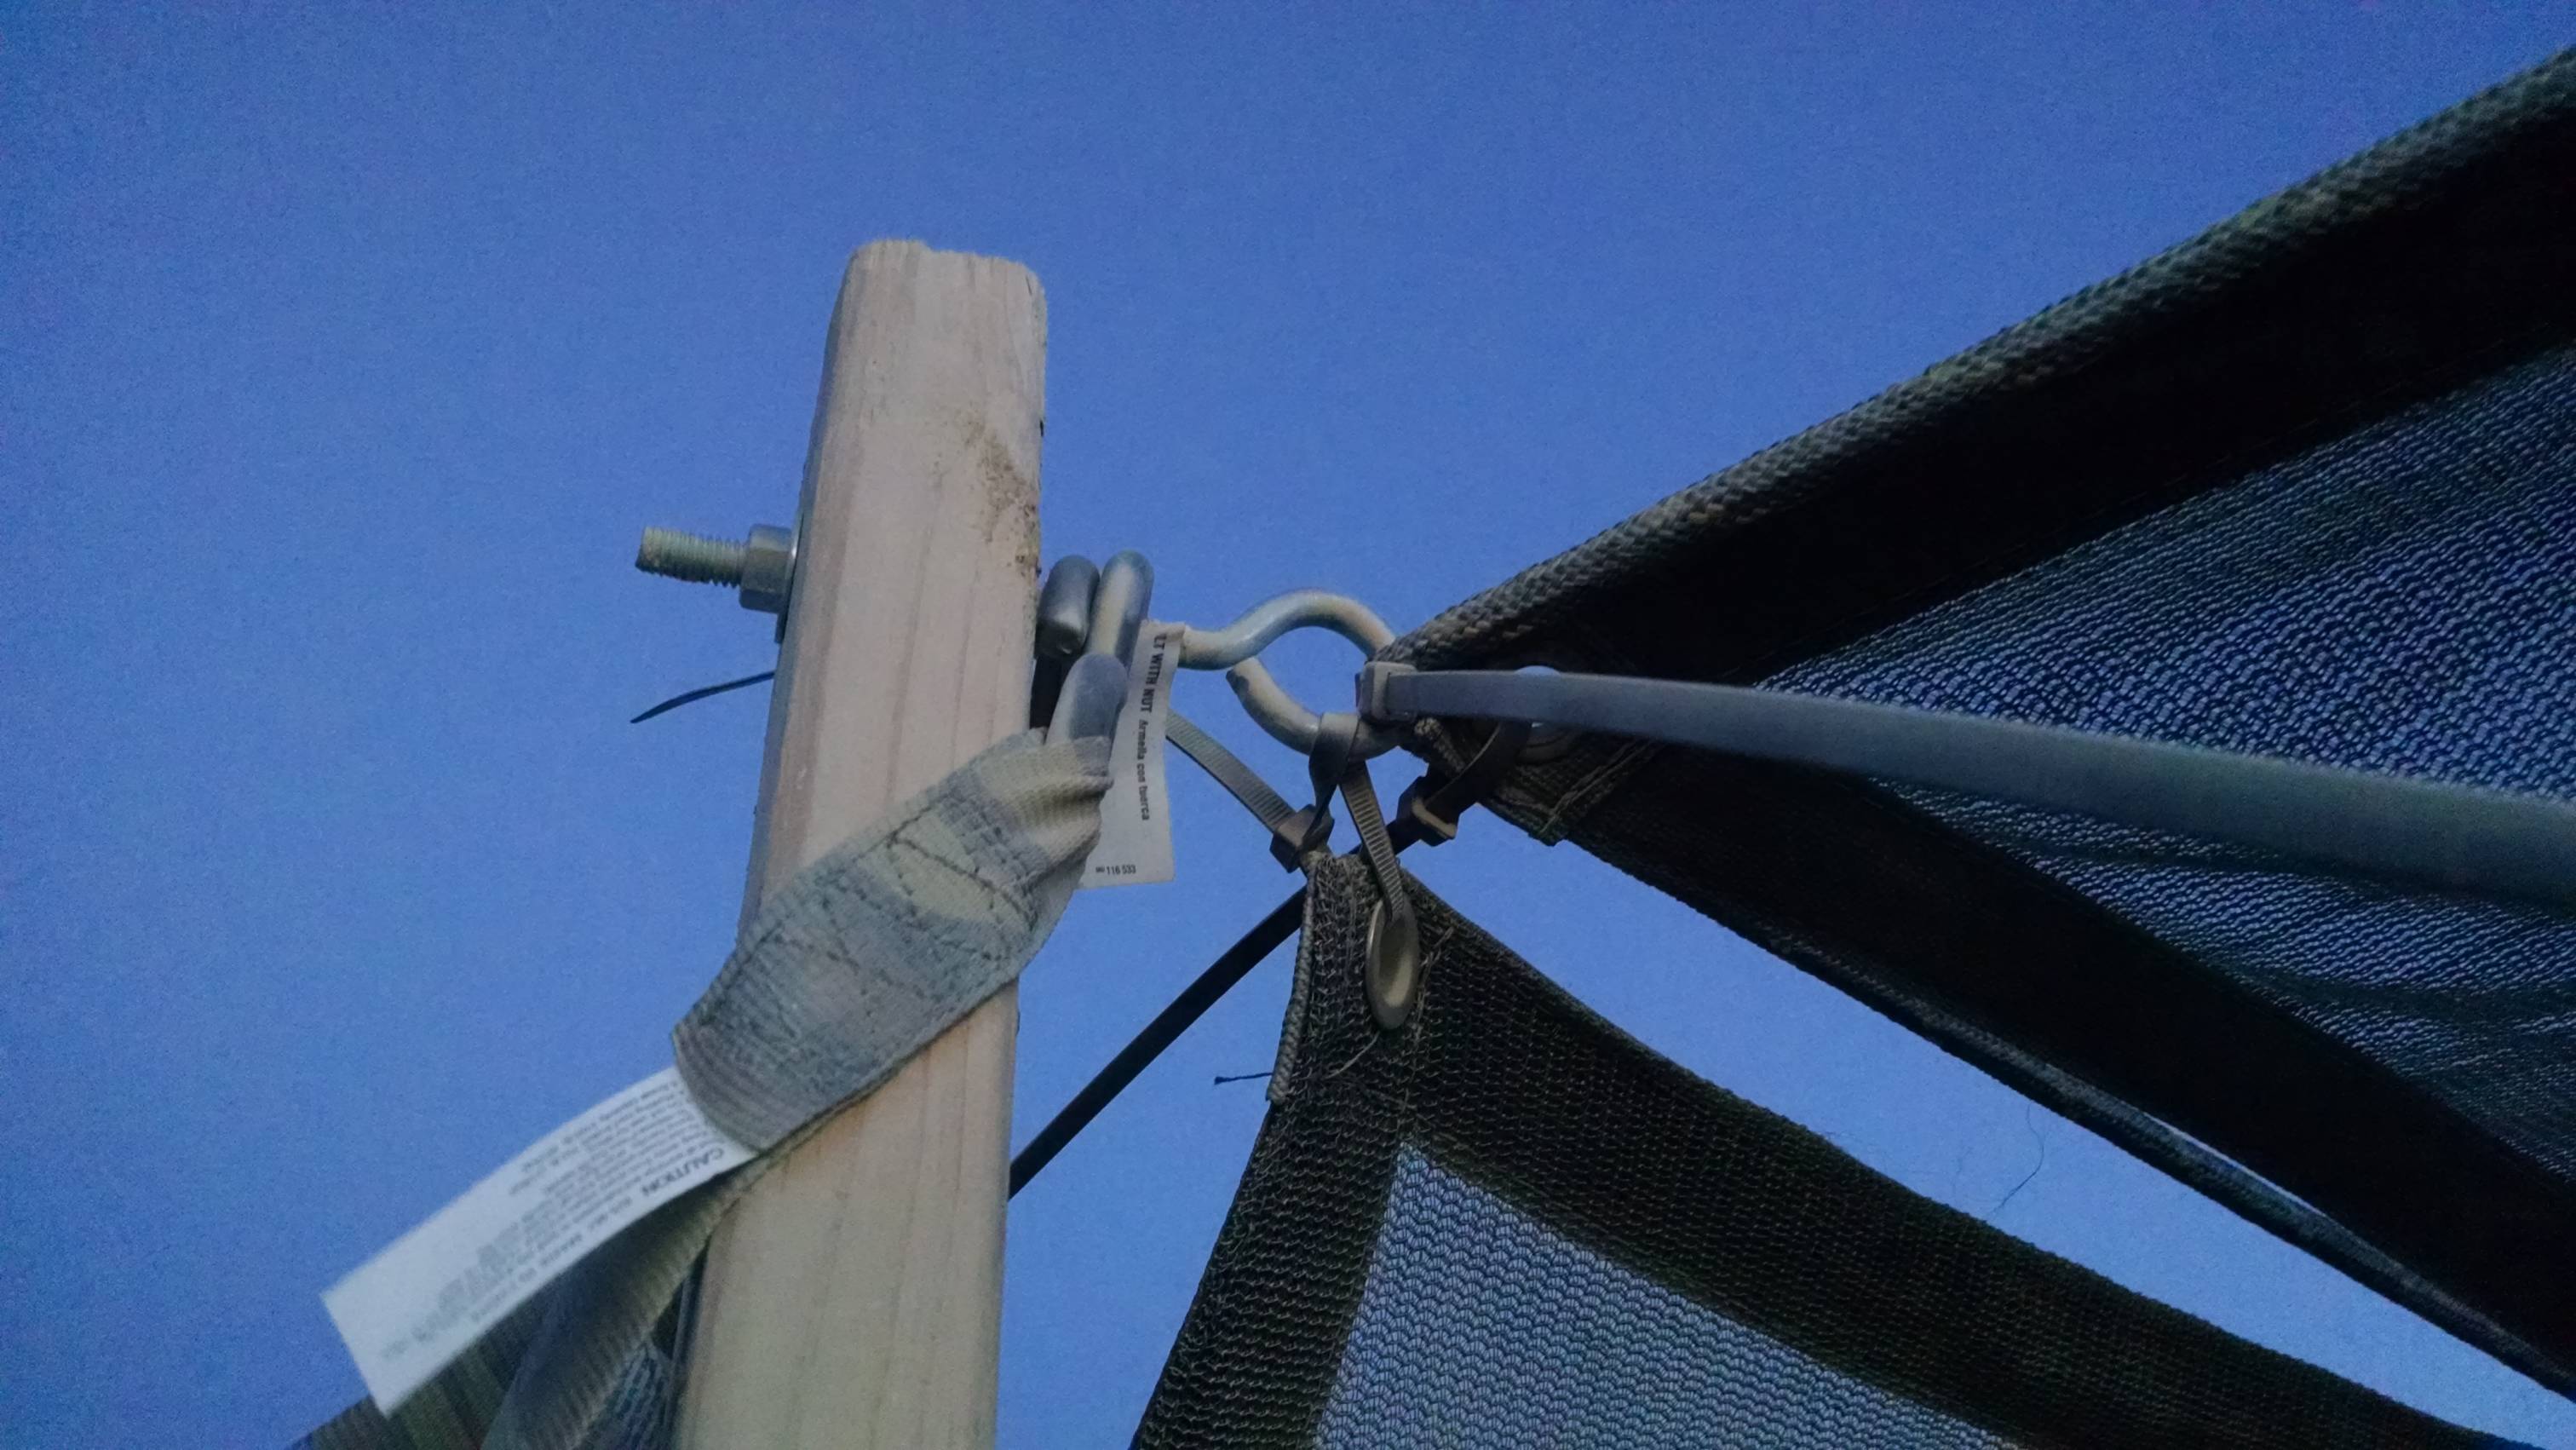
- Zip-tie the aluminet to the rope at each gromet. At the corners, zip-tie to the eyebolt. Use a piece of paracord tied in a fairly tight loop to back up the zip-tie. The corners experience the greatest stress.
- Try raising the center pole. If it’s too long, use your handsaw to cut off a foot from one end and try again. Repeat until the tarp is pretty tight but doesn’t look like it’s in danger of breaking.
- Put in two or three pieces of rebar at the bottom of the pole and zip-tie/duct-tape/lash the center pole to the rebar. This should keep the bottom of it in place. Throw something heavy around it as well, like your water or batteries.
- Add the sloper to one side (if you want) by zip-tying it to the rope. Put in two or three pieces of rebar at the bottom and tie the corners and/or center of the sloper to them. It doesn’t need to hold much load, but make it tight so it won’t flap.
Because of the length of the center pole, the force of the wind on the top of it exerts pretty extreme leverage on the bottom of the board. The rebar will keep the bottom from moving around, but it won’t stop the pole from leaning pretty heavily. To address this, we added a single guy wire (made of paracord) pulling against the direction of prevailing winds (about south by southwest) to counter the tilt.
Musings
- You’ll be out in the desert for a week, with no way to fix broken stuff except for what you brought. So bring useful things:
- Make sure to bring a ton of zip ties and some paracord. We brought ~100′ of good paracord that I’d used before, plus 100′ of some cheap reflective paracord that I thought might be a bit dodgy. It turned out to hold up okay, but was definitely weaker than the regular black stuff.
- Having two hammers is nice for setup and teardown. It’s kind of a waste the rest of the time, and you might be able to ask to borrow a neighbor’s hammer if you get there later. Make sure to have at least one fairly large (mini-sledge or bigger) hammer, though.
- Vice grips. Those things are the most amazing tool.
- Duck tape. We went through two rolls. Get the good 3M stuff, not the “duck” brand. Gorilla tape or gaffer’s tape could work as well.
- The wind comes from about South by Southwest. Park your cars between the wind and your shade structure and tents.
- Tents can also make good shade, especially in the late evening when the sun is low. In exchange, they’ll get hot during that time.
- Bring extra of every part, especially small ones.
- Once you set up the poles, you can move their bases a bit just by picking them up.
More Images
-
- Center pole
-
- Joining the center pole
-
- Another shot of the method to join the poles.
-
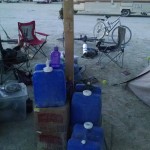
- Water + rebar holding up the center pole.
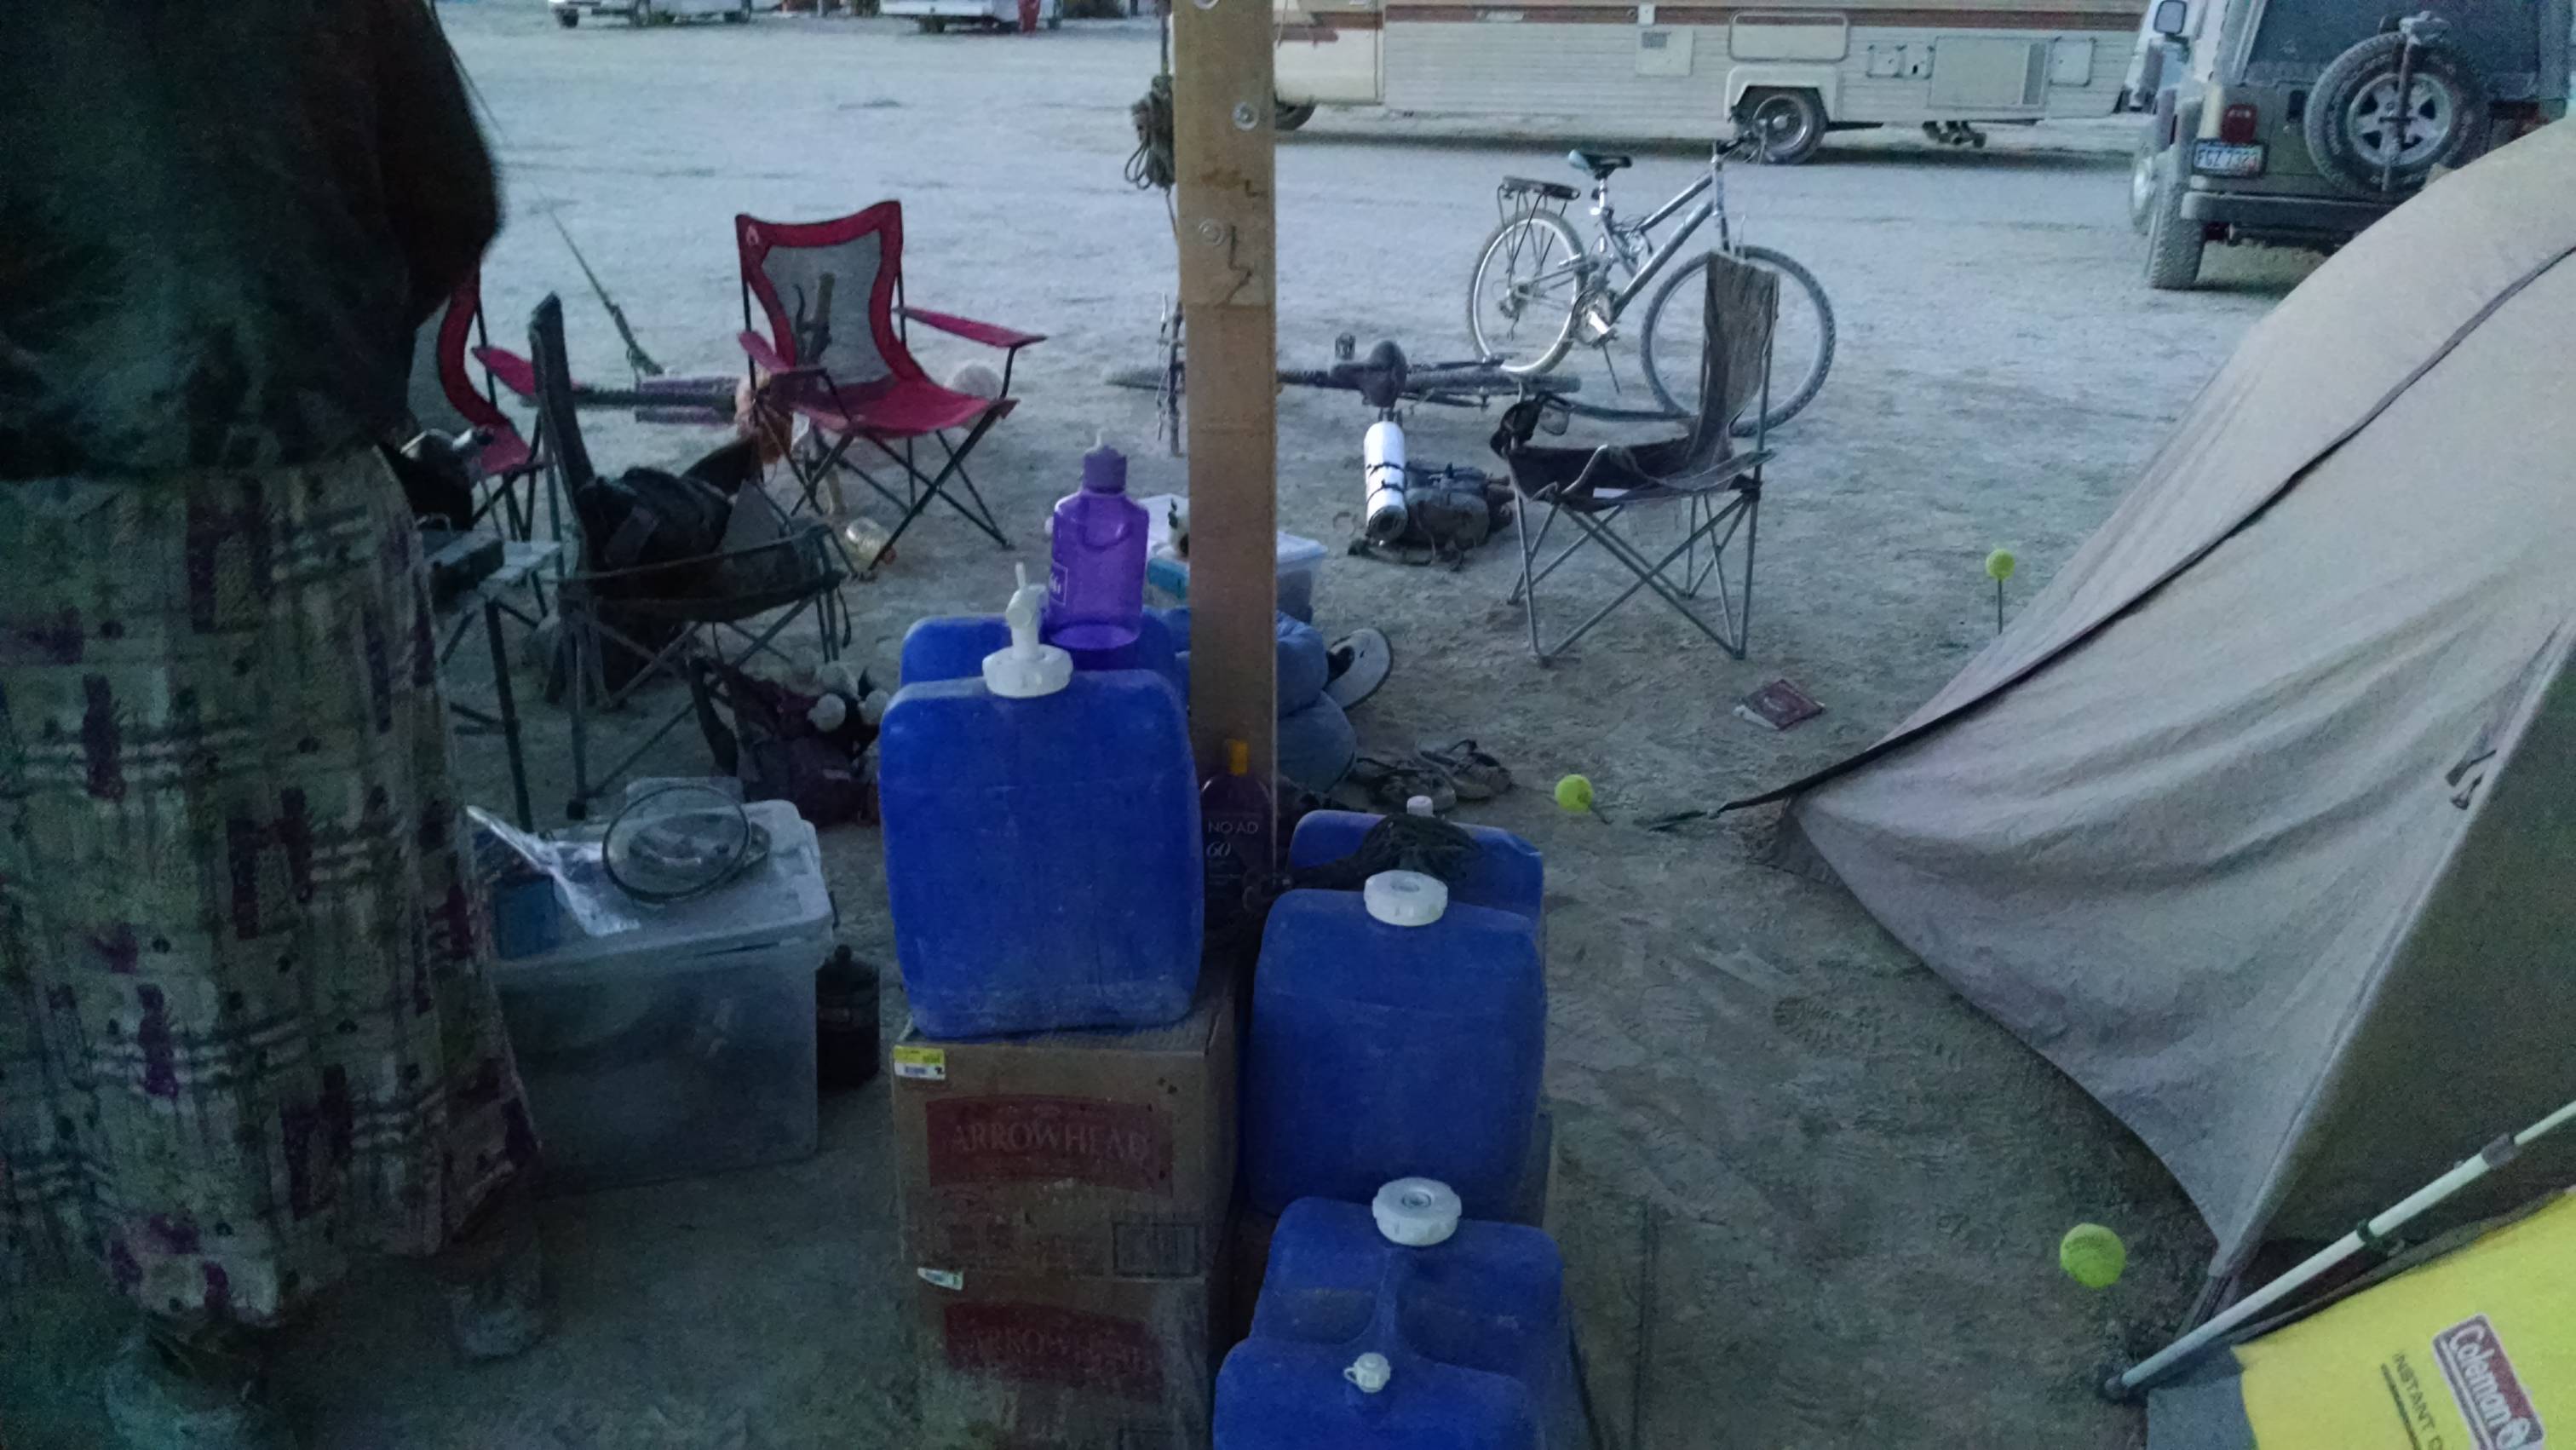
-
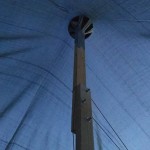
- The bowl is doing alright. The tape ripped part way through the week, so we brought the pole down, retaped it, and put it back up.
-
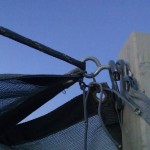
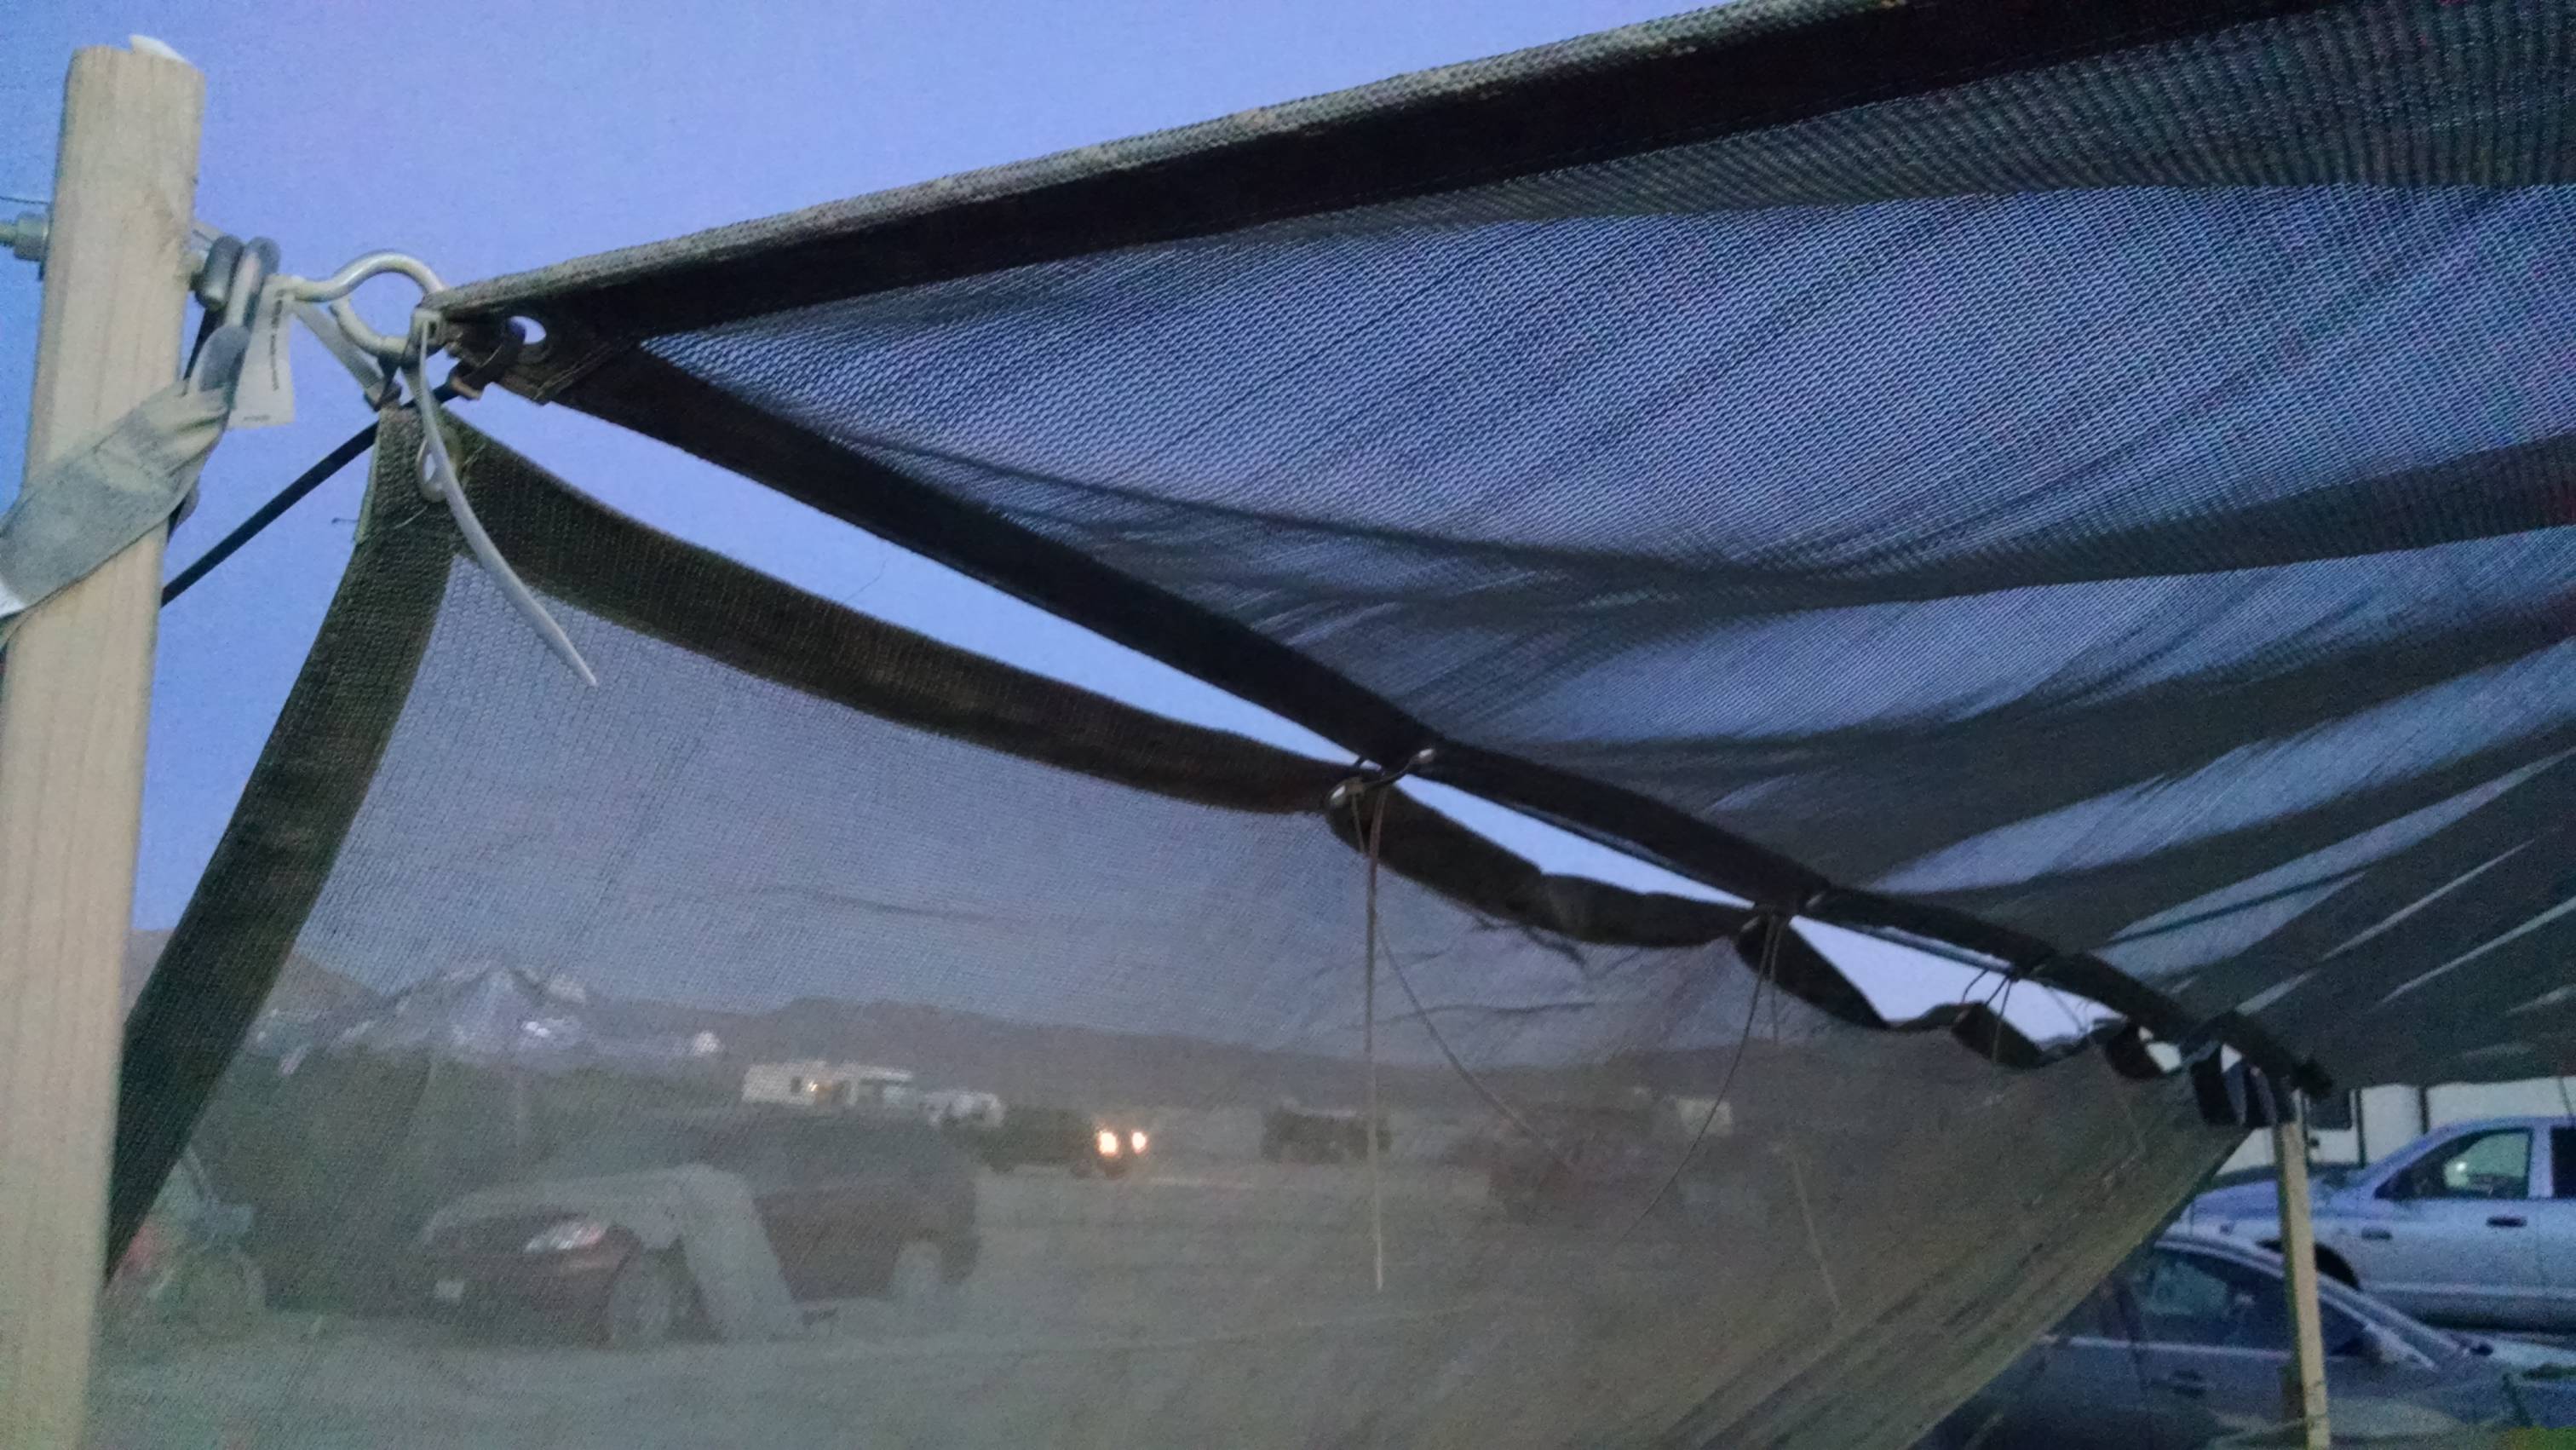
- Detail of the corner where the sloper connects. Note the paracord. Our zipties kept breaking.

-
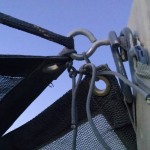
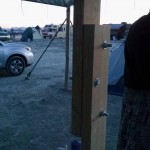
- Another shot of the corner pole.
-
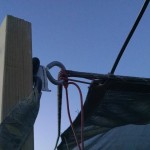
- Yet another corner pole shot
-
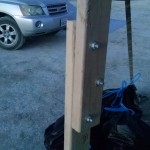
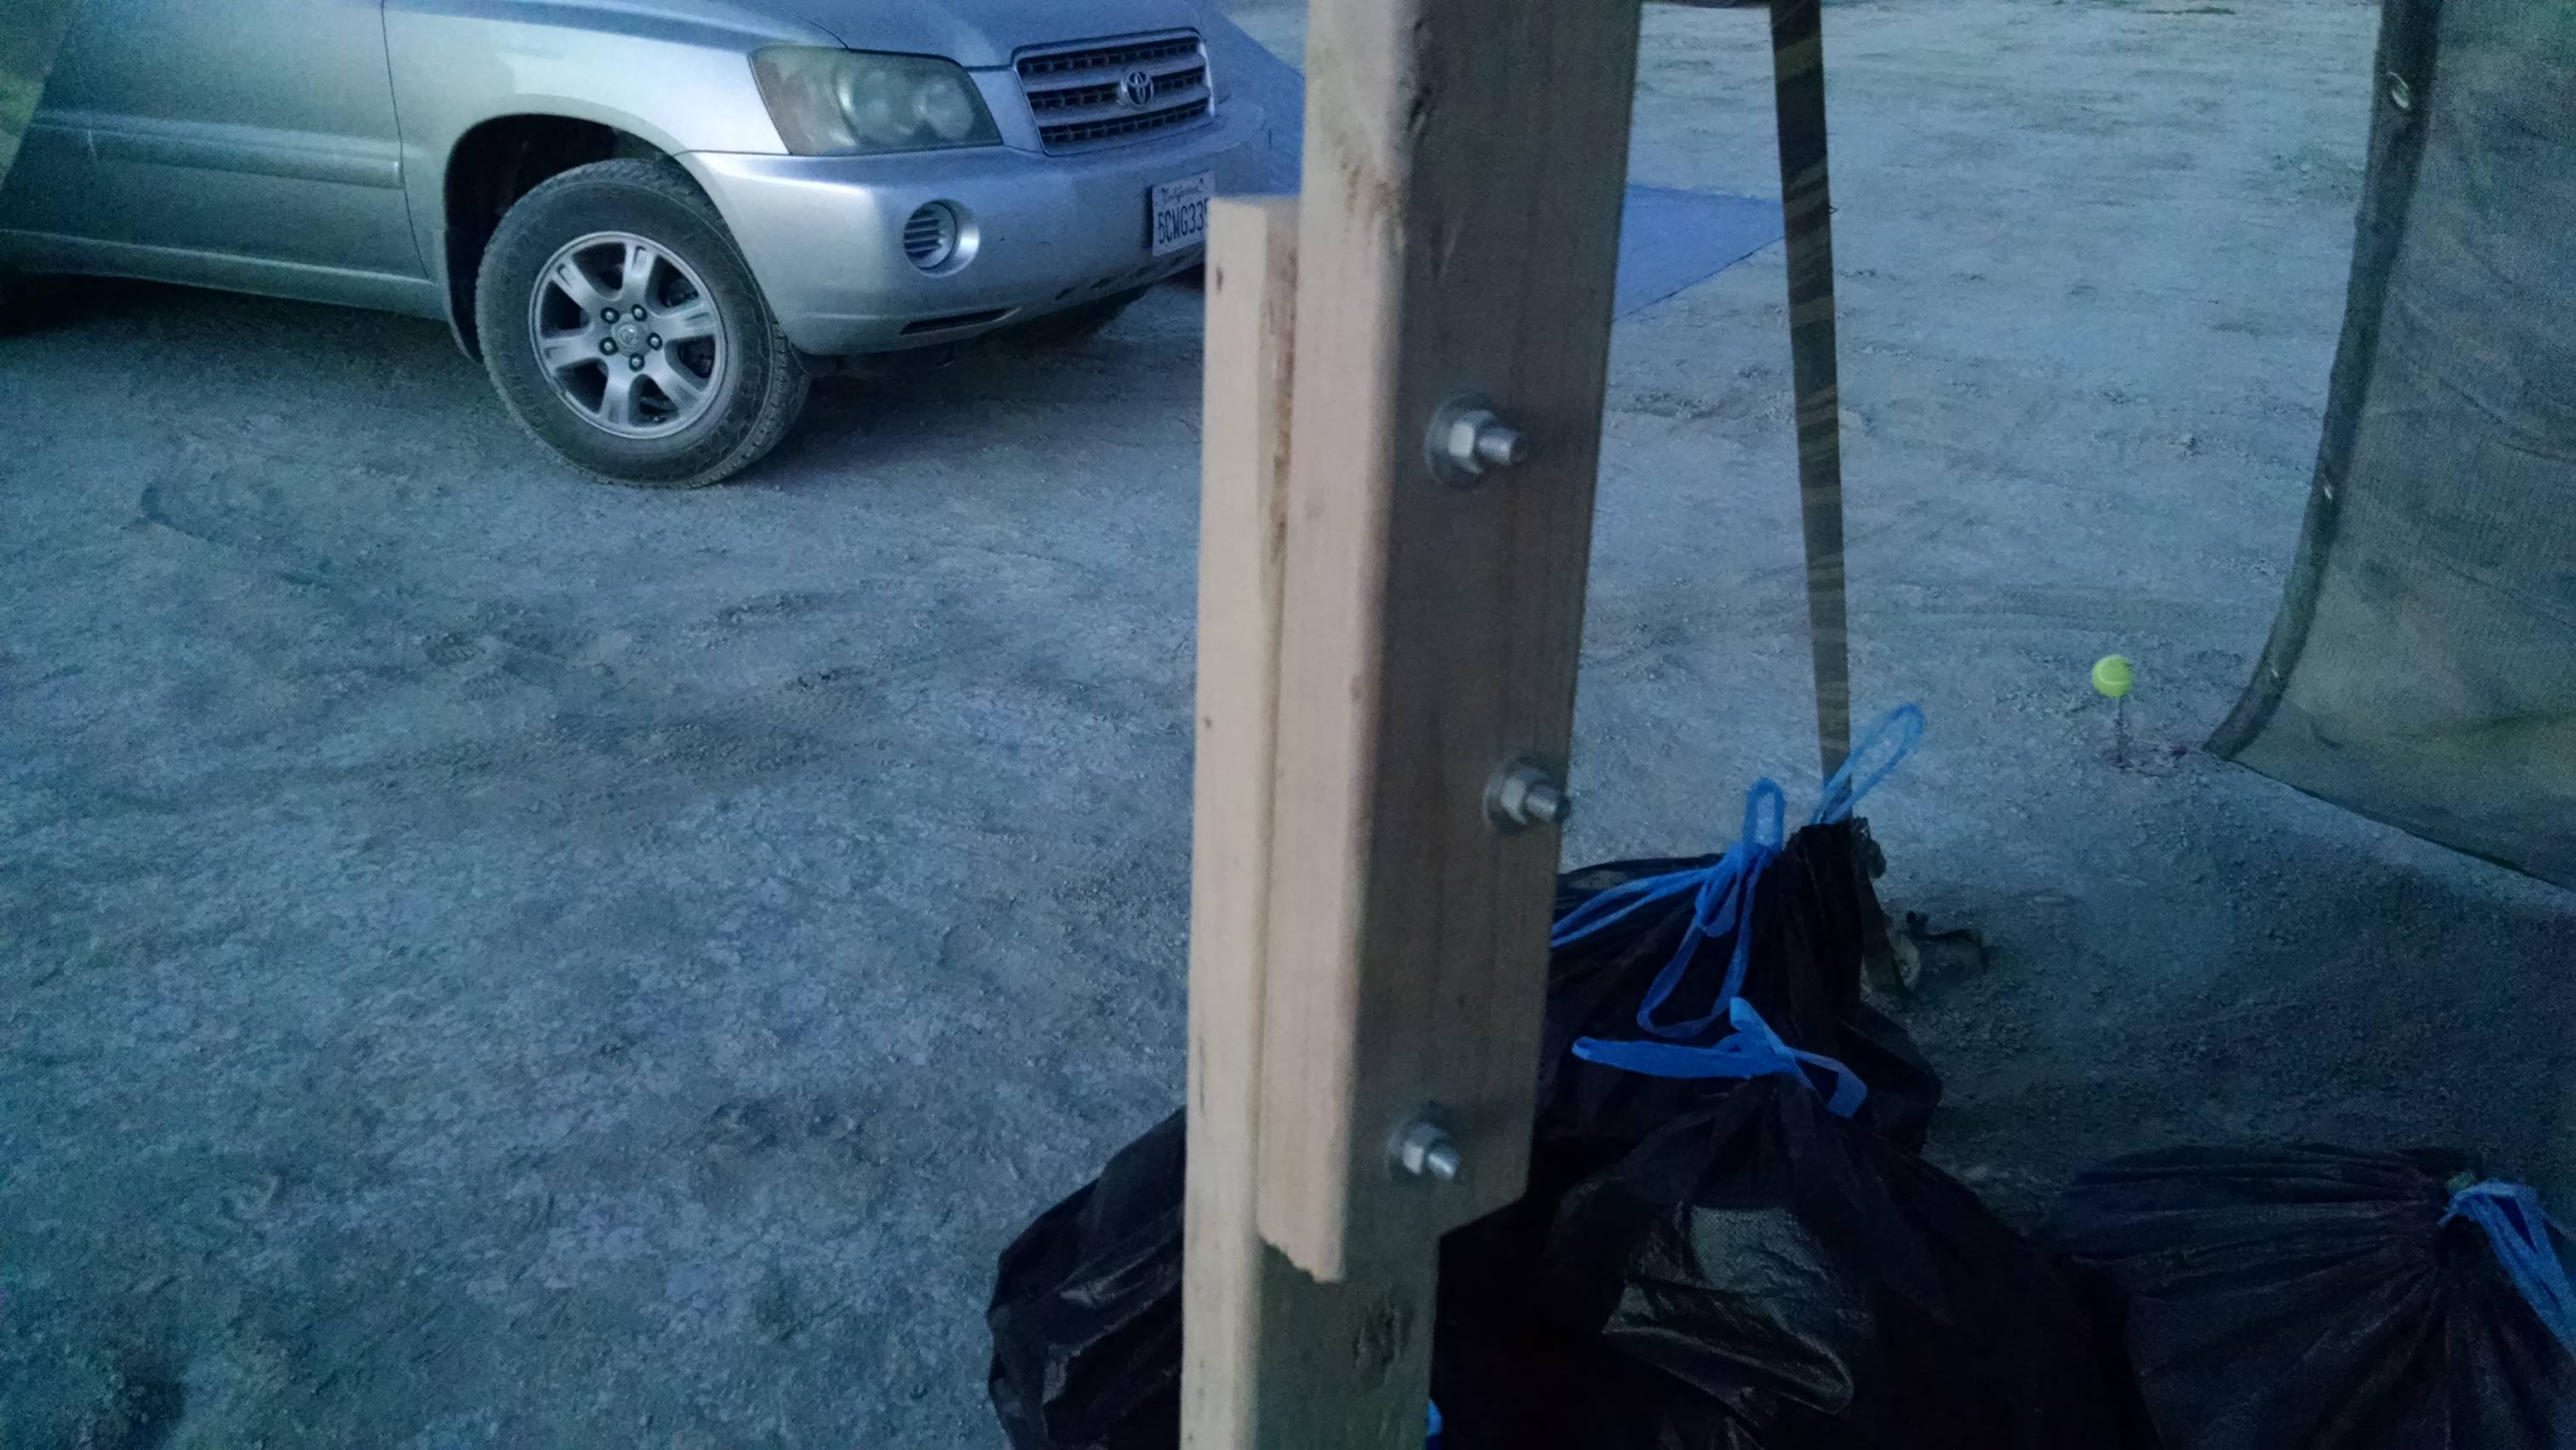
- Corner pole from below
-
- Corner pole plus straps holding it tight
-
- Another shot showing how the ratchet straps connect
-
- The sloper
-
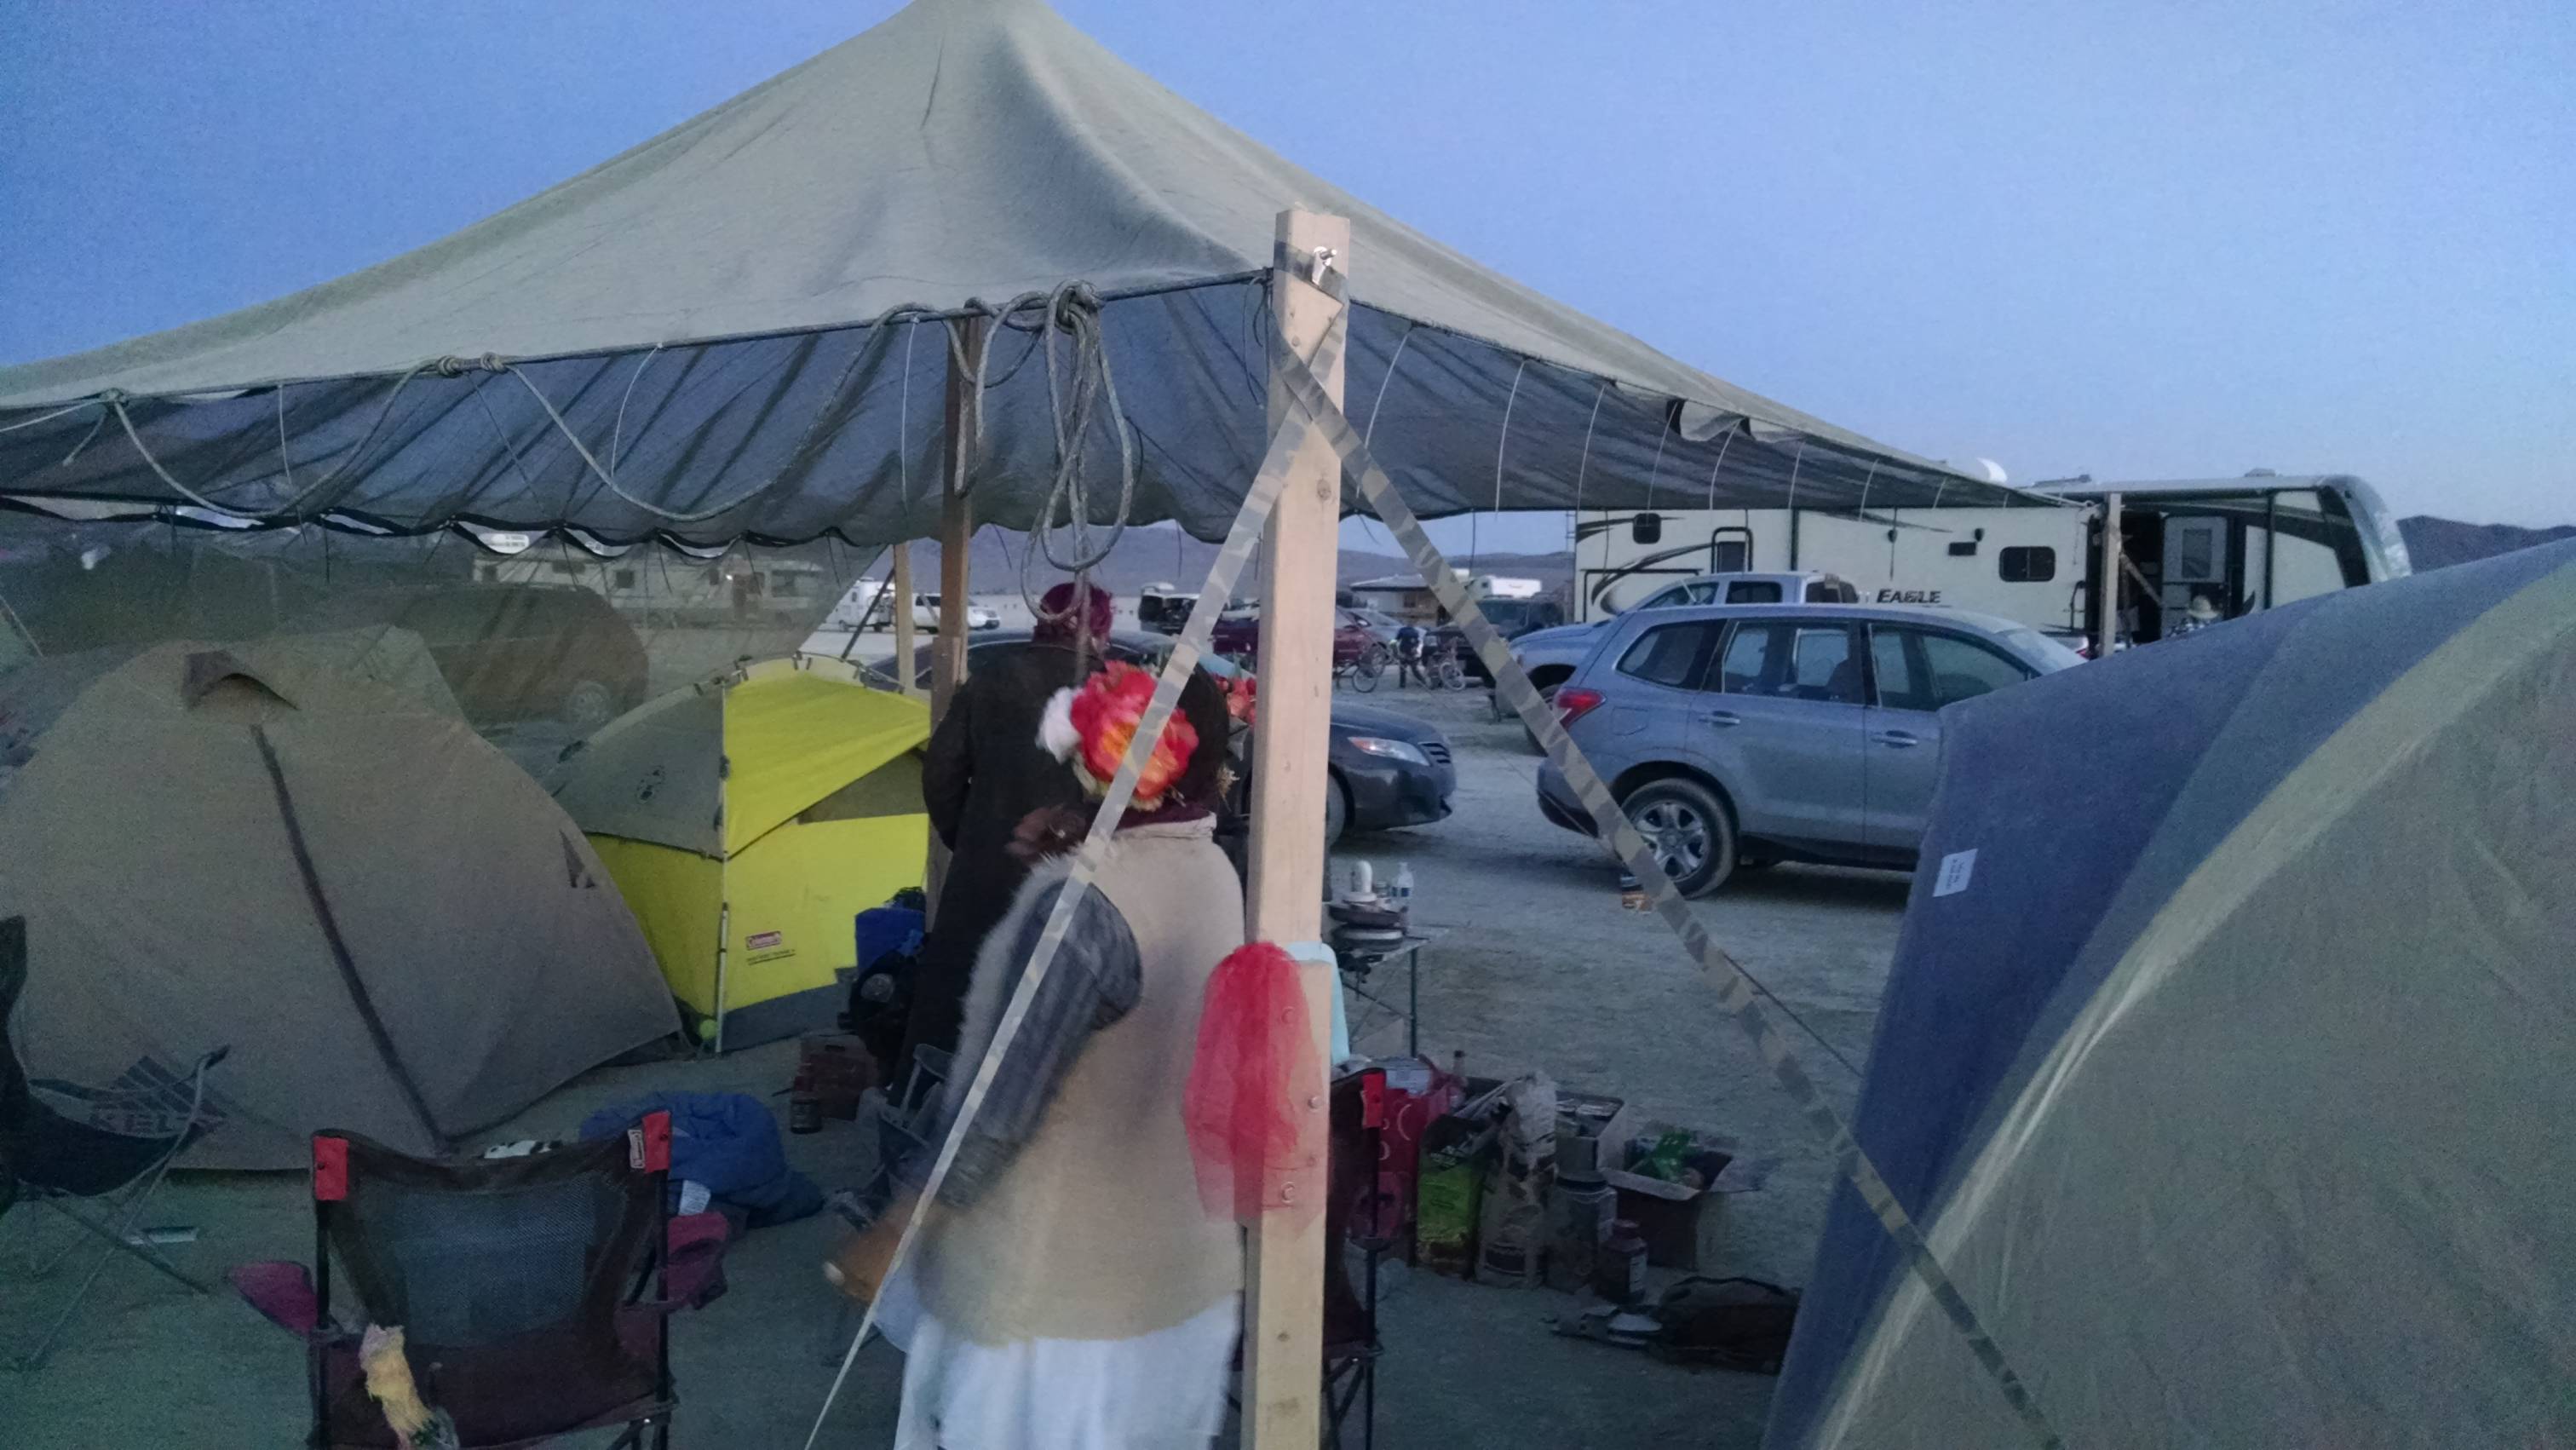
- My girlfriend lurking behind a corner pole.
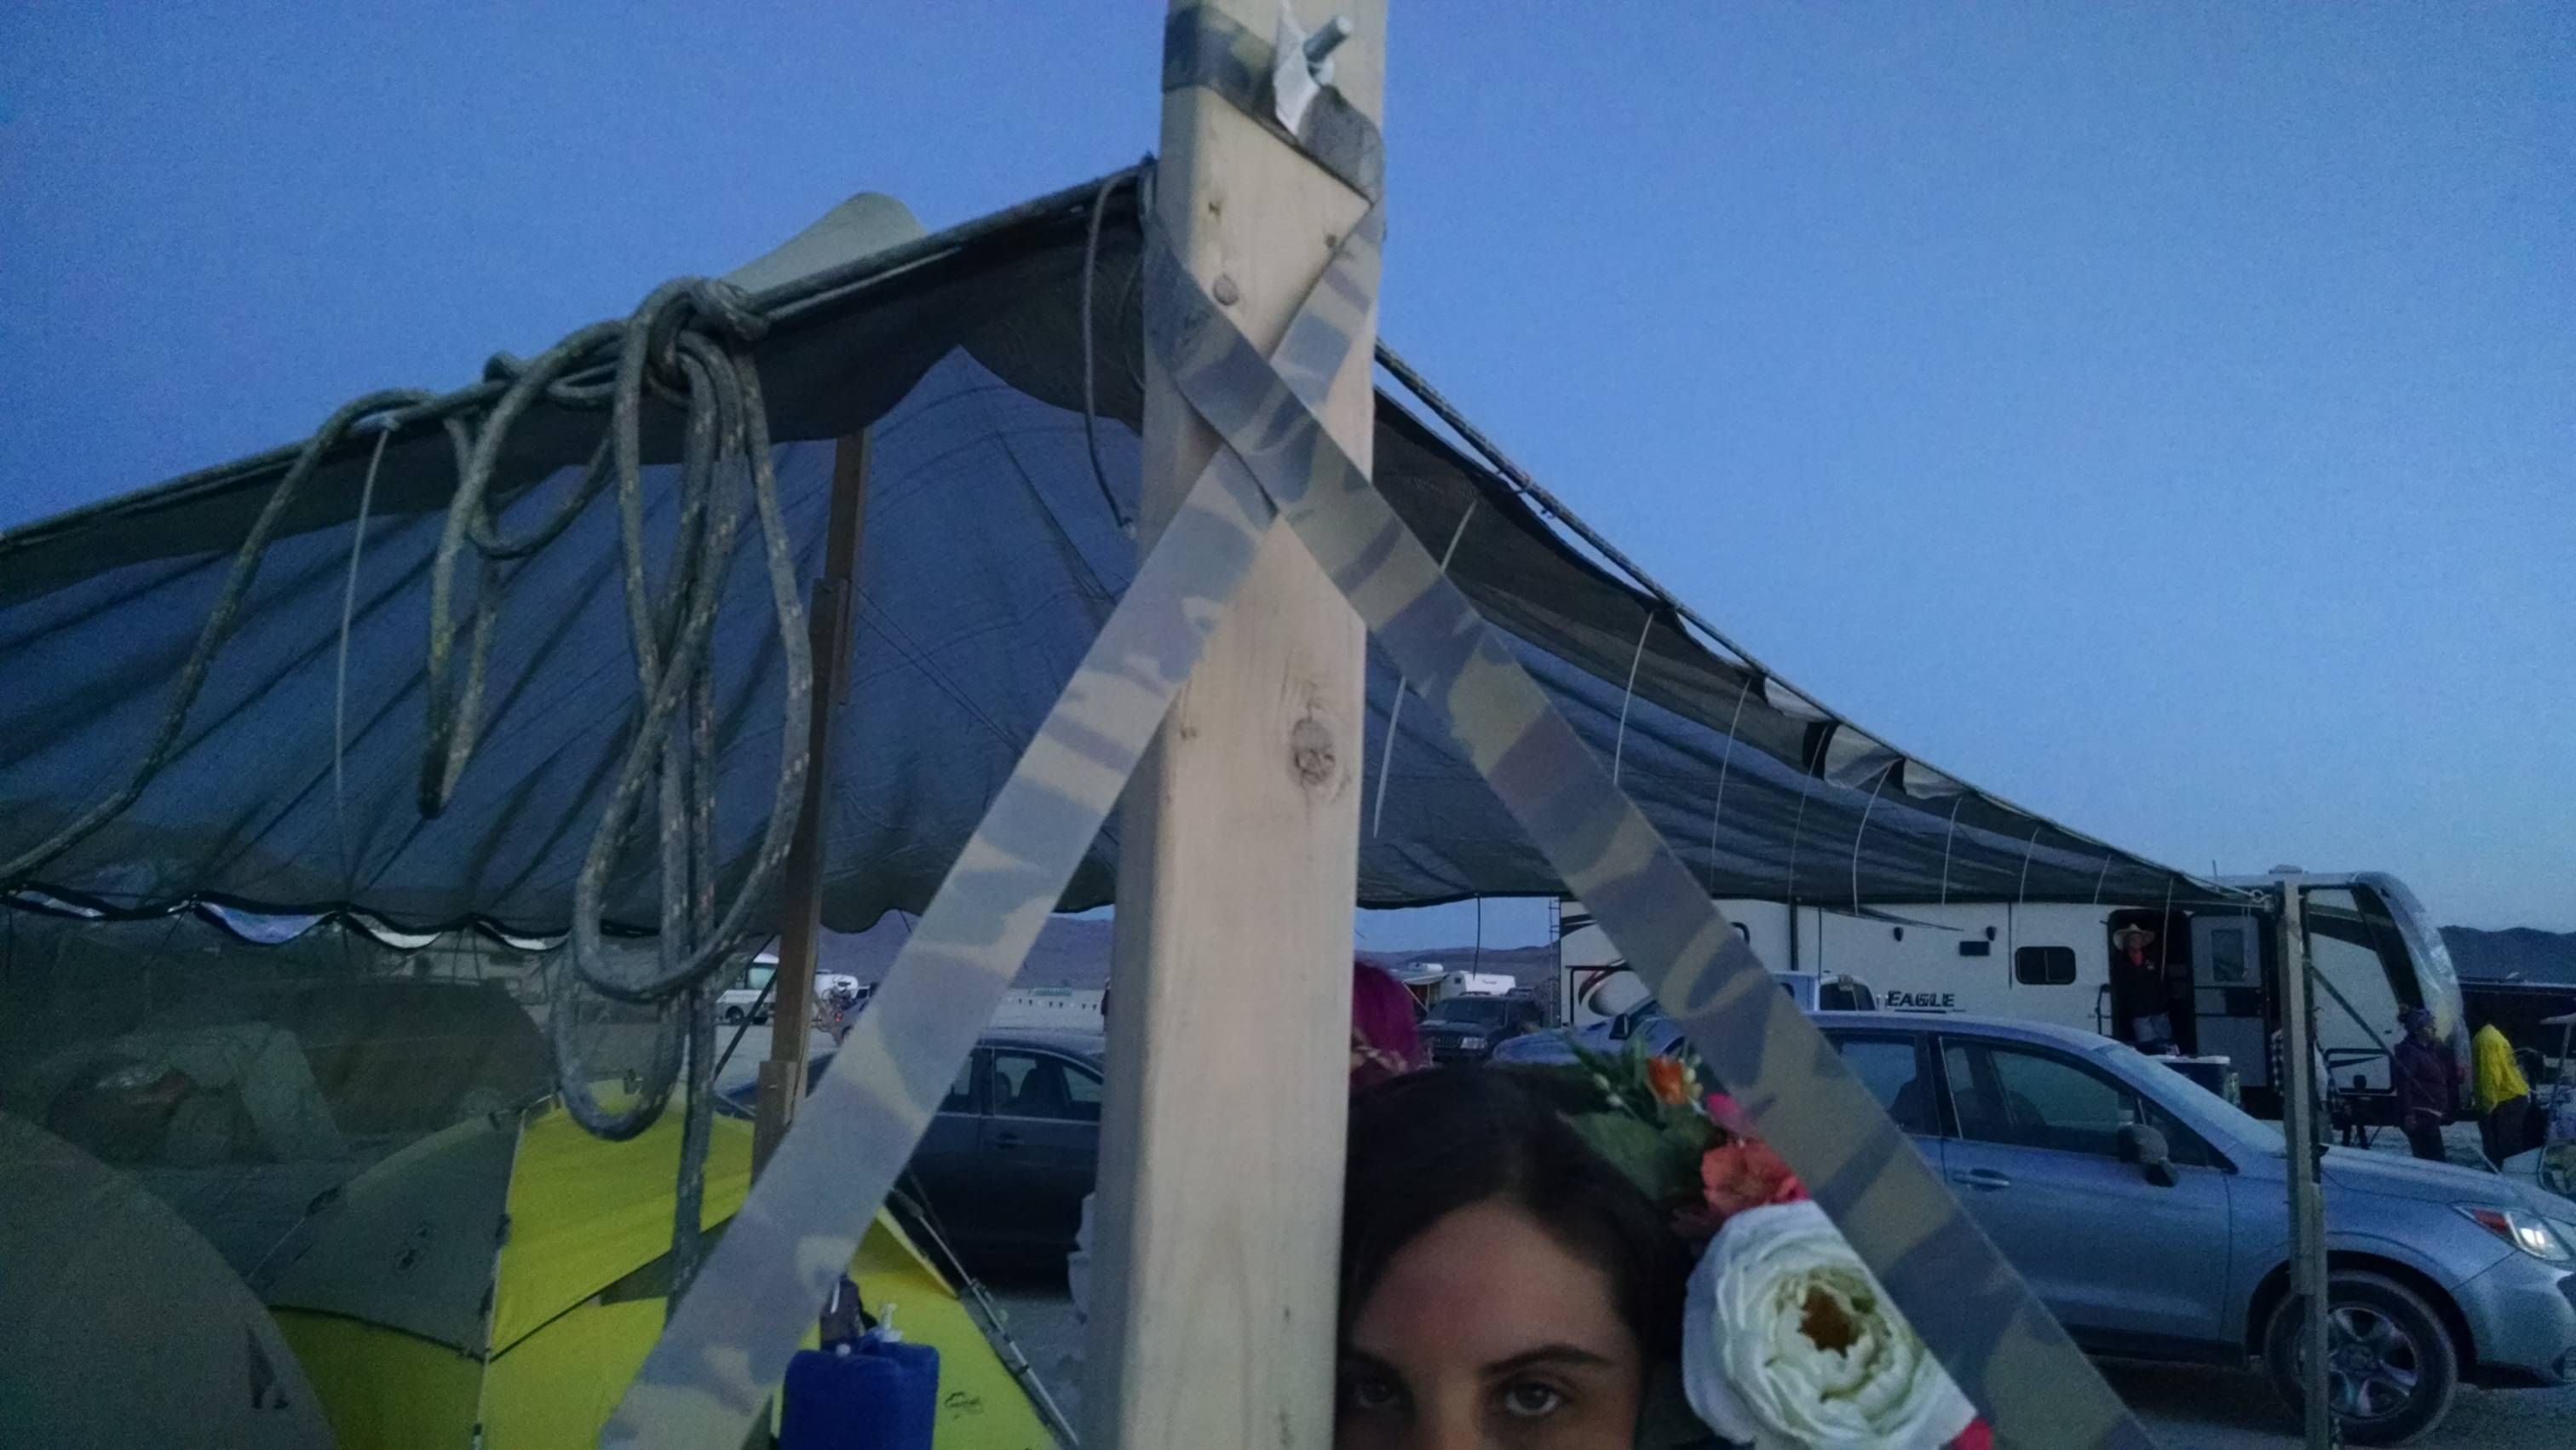
-
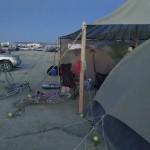
- Overview shot with our tents.
-
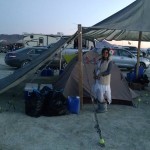
- Overview shot showing the sloper.